Drywall damage is a common occurrence in any home, but fixing it doesn’t have to be a challenge. Whether you’re dealing with a small dent, nail holes, or larger holes caused by accidents, repairing and blending drywall seamlessly is a skill worth mastering. Proper drywall repair not only restores your walls’ appearance but also prevents further damage and enhances your home’s overall look.
From using patch kits for small repairs to tackling larger patches with professional techniques, this guide will equip you with all the tools and knowledge needed for flawless results. With the right methods, like applying lightweight joint compound, creating texture, and blending paint, you can make drywall repairs that are virtually invisible.
Ready to get started? Let’s dive into the process and learn the tricks for making your walls look as good as new!
How To Blend Drywall Patch Texture

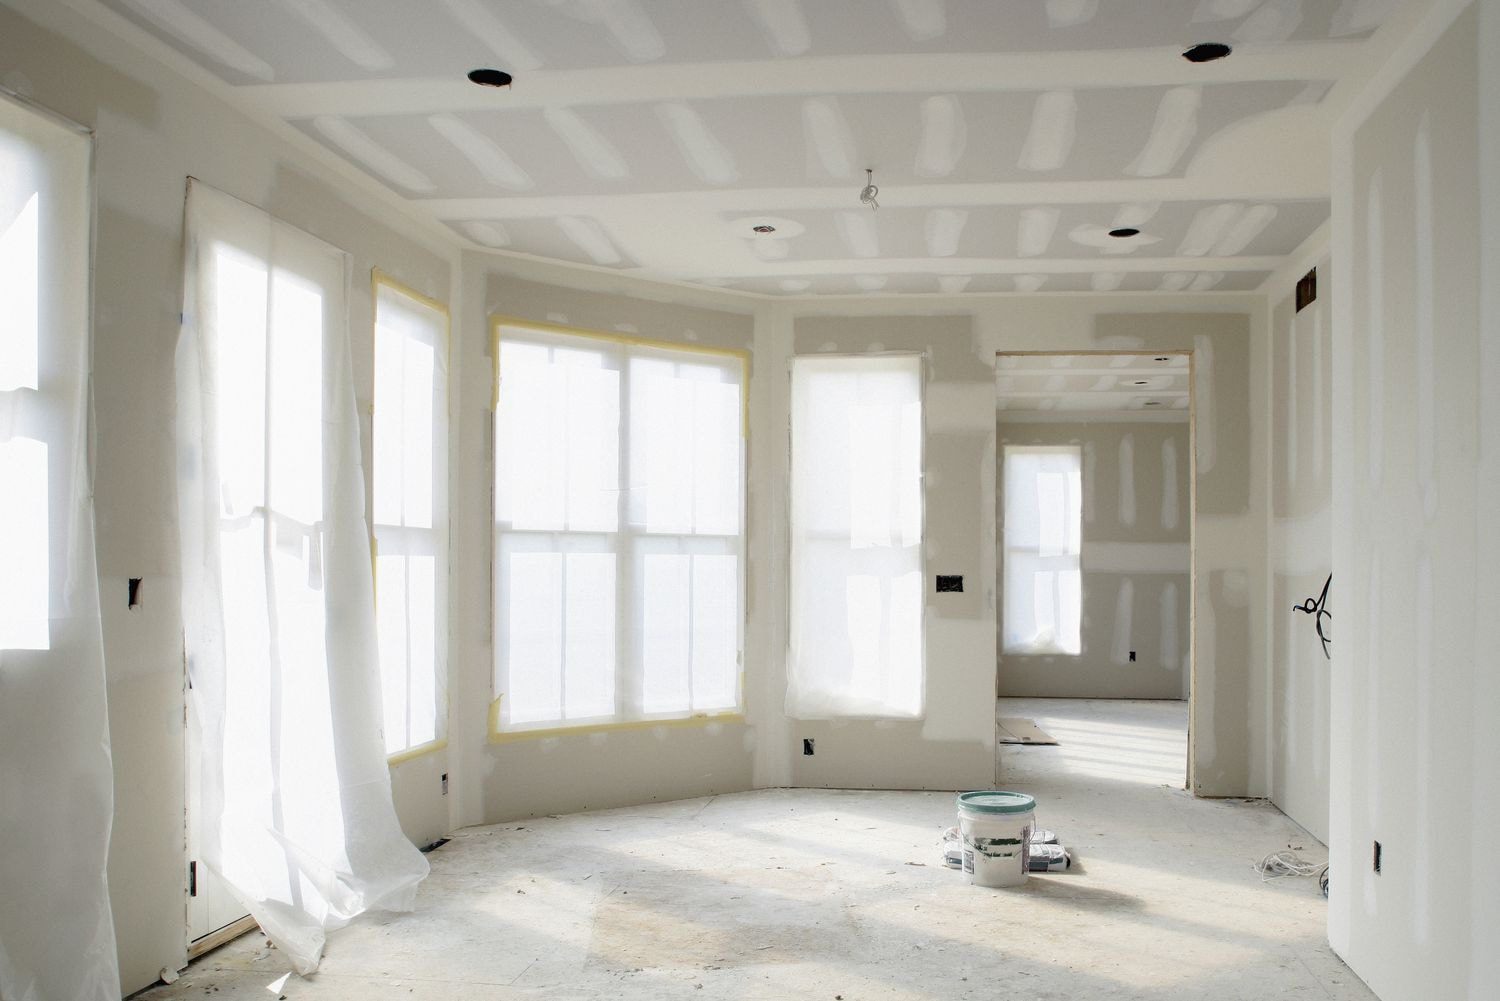
Drywall repairs are an inevitable part of home maintenance. Whether it’s a small hole from a doorknob, a larger hole from an accident, or general wear and tear, knowing how to handle a wall repair and blend drywall patches can save you time and money. The key to a seamless repair lies in mastering techniques like applying lightweight joint compound, creating texture, and matching paint.
Using a drywall repair patch for larger holes or a patch kit for smaller ones simplifies the process and ensures long-lasting results. The use of a drywall knife to smooth out the edges of the entire patch is crucial for achieving a seamless finish. Matching the existing wall texture is essential for a professional look, whether you’re addressing small dents, nail holes, or more significant damage.
This comprehensive guide will walk you through the process of repairing textured drywall, including how to blend drywall patch texture and achieve a professional finish.
Tools and Materials Needed

Before you begin your drywall repair, gather the necessary tools and materials:
- Utility knife
- Putty knife
- Joint compound (also known as drywall compound or drywall mud)
- Drywall patch or scrap drywall
- Sandpaper (medium and fine grit)
- Primer and paint (preferably semi-gloss)
- Texture spray or hopper gun
- Damp cloth
- Stiff brush
- Air compressor (optional for larger texture applications)
- Tape for taping larger holes
Step-by-Step Guide to Drywall Repair Patch
1. Prepare the Repair Area Using a Patch Kit or Larger Patches
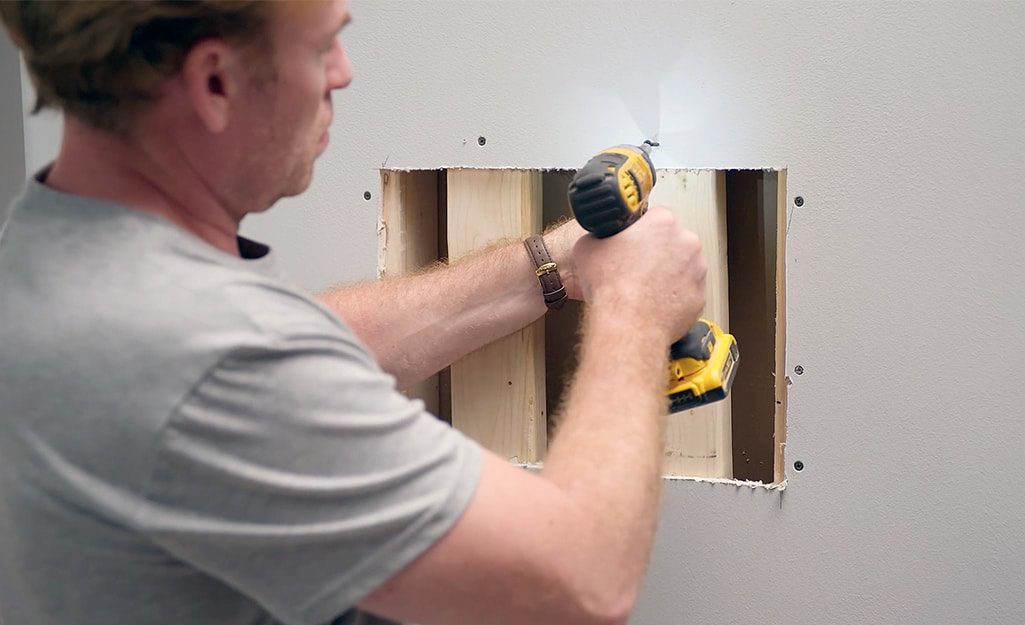
Start by cleaning the damaged area. Use a utility knife to cut out any loose or damaged drywall around the edges of the hole. For larger holes, use a self-adhesive mesh patch or cut a drywall patch slightly bit bigger than the hole for a proper fit. For small holes, you can use a pre-made patch kit or lightweight joint compound to fill the gap. Ensure the edges are smooth to help the patch adhere securely.
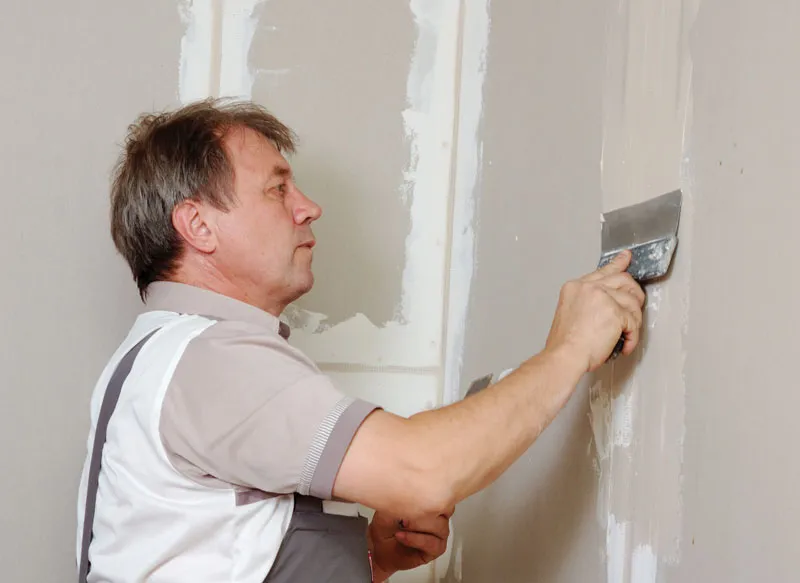
2. Apply Joint Compound to Patch Larger Holes
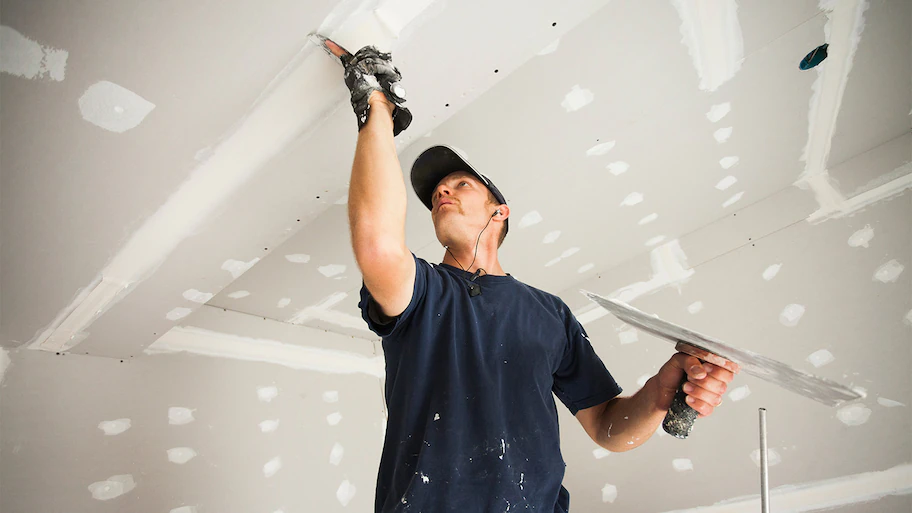
Use a putty knife to apply joint compound to the damaged area. For small holes, fill the hole completely with joint compound and smooth it out. For larger holes, attach the furring strips behind the gap to stabilize the repair. Then, insert the new piece of drywall, secure it with drywall screws, and cover the edges with joint tape. Feather the compound outward to create a smooth surface that blends into the surrounding wall.
3. Create Texture
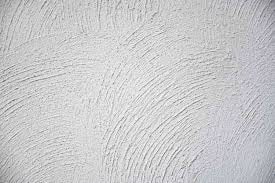
Creating drywall texture is crucial for making the repair blend with the existing wall texture. Depending on the original wall texture, you might use different methods:
- Orange Peel Texture: For a subtle, pebbled finish, use an aerosol spray texture or a hopper gun. Apply the texture in a sweeping, circular motion to mimic the existing texture.
- Knockdown Texture: After applying joint compound with a putty knife, wait for it to set slightly, then use the knife to gently knock down the peaks, creating a flattened, textured surface.
- Other Textures: Use a stiff brush or other tools to create a matching texture. Experiment on a scrap piece of drywall before applying to the repair area. A stiff brush can help create a consistent texture that blends well with the existing wall.
4. Sand and Paint
Once the compound is dry, lightly sand the area for a smooth finish. Be cautious not to over-sand, as this could remove too much texture. After sanding, prime and paint the repaired area using a crisscross pattern to blend with the existing color.
Tips and Tricks

1. Prevent Future Cracks
Reinforce the repair with joint tape and ensure proper adhesion by using a damp cloth to clean the edges beforehand.
2. Test the Texture
If you’re unsure of the texture match, test your wall texture spray on a scrap piece before applying it to the repair.
3. Fill Gaps Properly
For larger gaps, use furring strips or adhesive to stabilize the patch before applying compound.
4. Address Small Dents and Nail Holes
Use spackle or lightweight joint compound to quickly fix minor imperfections, like small dents and nail holes.
5. Use Big Box Stores
Many materials like patch kits, wall texture sprays, and drywall repair patches are readily available at big box stores, making it easy to find what you need.
Tips for a Seamless Finish
1. Lightly Sand
Once the joint compound is completely dry, lightly sand the area with fine-grit sandpaper to smooth any rough edges. Be careful not to sand away too much texture.
2. Apply a Second Coat
For larger repairs, apply a second coat of joint compound, feathering the edges further out to blend with the wall surface. Lightly sand the second coat once it’s dry.
3. Prime and Paint
Prime the repaired area to ensure the paint adheres properly. Choose a paint that matches the existing wall color, preferably in a semi-gloss finish for durability and easy cleaning. Apply the paint in a circular pattern or crisscross pattern to blend with the surrounding area.
4. Add Final Texture
For areas with more texture, apply an additional layer of texture spray or use a brush to add the final touches. Use an air compressor for more control over the application.
Special Techniques for Different Textures
1. Orange Peel Texture
Orange peel texture can be tricky to match. Use aerosol sprays or a hopper gun to apply the texture in a sweeping, circular motion. Adjust the air pressure to control the amount of texture being applied. Lightly sand the area once dry to blend with the surrounding wall.
2. Knockdown Texture
For knockdown texture, apply joint compound with a putty knife and wait for it to set slightly. Then, use the knife to knock down the peaks in a sweeping motion. This creates a flat, textured surface that matches the surrounding wall texture.
Common Mistakes to Avoid
1. Skipping the Primer
Primer is essential for ensuring the paint adheres properly to the repaired area. Skipping this step can result in an uneven finish.
2. Over-Sanding
While sanding is necessary for a smooth finish, over-sanding can remove too much texture and create a noticeable difference between the repaired area and the existing wall, doing final light sanding is just fine.
3. Incorrect Texture Application
Applying too much or too little texture can make the repair stand out. Practice on a scrap piece of drywall to get the texture right before applying it to the repair area.
Additional Tips and Tricks
1. Use a Damp Cloth
Wipe the edges of the repair area with a damp cloth before applying joint compound. This helps the compound adhere better and creates a smoother finish.
2. Use a Circular Motion
When applying texture, use a circular motion to blend with the existing texture. This technique works well for both aerosol sprays and hand-applied textures.
3. Test Paint Colors
Test your paint color on a small, inconspicuous area before applying it to the entire repair. This ensures a perfect match with the existing wall color.
4. Layering Textures
For walls with multiple layers of texture, apply the textures in layers, allowing each layer to dry completely before applying the next. This creates a more natural, blended look.
Summary
Repairing and blending drywall patches doesn’t have to be a daunting task. With the right tools, materials, and techniques, you can achieve professional results that make your repairs virtually invisible. Whether you’re dealing with small holes, larger holes, or textured whole wall, following these steps will ensure a seamless finish. Remember to be patient, take your time, and practice on scrap pieces of drywall to perfect your technique. With a little effort, your walls will look as good as new.
Transform your home with the expert touch of M&E Painting and Roofing! Whether you need to repair textured drywall, apply a fresh coat of paint, or tackle any home improvement project, our skilled team is here to deliver flawless results. Contact us today and let us bring your vision to life with our professional services. Your dream home is just a call away!
FAQ: Drywall Repair and Texture Blending
2. What type of joint compound should I use for repairing textured drywall?
For repairing textured drywall, use a lightweight joint compound, also known as drywall mud. It’s easy to apply and sand smooth. Make sure to apply joint compound in thin layers, allowing each layer to dry completely before adding more.
3. How can I repair drywall with an orange peel texture?
To repair drywall with an orange peel texture, apply joint compound to the damaged area and sand smooth. Use an aerosol texture spray or a hopper gun to apply the orange peel texture in a circular motion. Adjust the air pressure for a perfect match. Once dry, lightly sand the textured area and prime and paint.
4. What is the best way to repair a knockdown texture on drywall?
For knockdown texture repairs, apply joint compound to the repair area with a putty knife. Let it set slightly, then use the knife to knock down the peaks in a sweeping motion. This will create a flat, textured surface. Once completely dry, sand lightly, prime, and paint to match the surrounding wall texture.
5. How do I fix small holes in textured drywall?
To fix small holes in textured drywall, fill the hole with joint compound using a putty knife. Smooth the compound and feather the edges. Once dry, sand smooth and apply the existing texture with a texture spray or a brush. Finally, prime and paint to blend with the rest of the wall.
