When we think about painting a house, whether it’s a fresh coat for curb appeal or part of a full remodel, the focus often goes straight to colors and finishes. But what really determines how long that paint will last? It’s not just about the quality of the paint; it’s about what happens before it even gets opened. We’ve seen it time and again: the difference between a five-year finish and a fifteen-year finish often comes down to one crucial step, surface preparation for painting.
At M&E Painting and Roofing, we’ve painted thousands of homes across Northern Colorado, and every successful job we complete starts with one thing, proper surface preparation. From power tool cleaning to removing surface contaminants, the foundation we build before painting determines how well that coating performs year after year. In this article, we’ll break down why this step is so important, the methods used, and how to spot when it’s being done right.
What Is Surface Preparation for Painting and Why Does It Matter?

Before any brush touches a wall or siding, the foundation for a long-lasting paint job begins with surface preparation for painting. This isn’t just a quick clean-up or a wipe-down; it’s a thorough process that determines whether the paint will stick, how smooth it will look, and how long it will last. Professional painting companies like M&E Painting and Roofing prioritize this step because they understand that skipping it often leads to early paint failure, uneven finishes, and the need for premature repaints.
Surface preparation ensures that all imperfections, contamination, and previous coating issues are handled before new paint is applied. It enhances coating adhesion by creating a clean, uniform base on the entire surface, making it easier for paint to bond and perform well under weather and time.
How Does Surface Preparation Affect the Longevity of Painted Surfaces?

When paint is applied to a poorly prepared surface, you’ll likely see peeling paint, bubbling, discoloration, and cracks within months. But when proper surface preparation is done, including removing surface contaminants and smoothing out damage, the result is a longer-lasting, more vibrant finish.
At M&E Painting and Roofing, this level of prep is part of every job. Their reputation in Northern Colorado is built on over 10,000 homes painted with care, attention to detail, and the kind of prep work that resists harsh climate conditions.
What Are the Most Common Surface Contaminants That Impact Paint Adhesion?

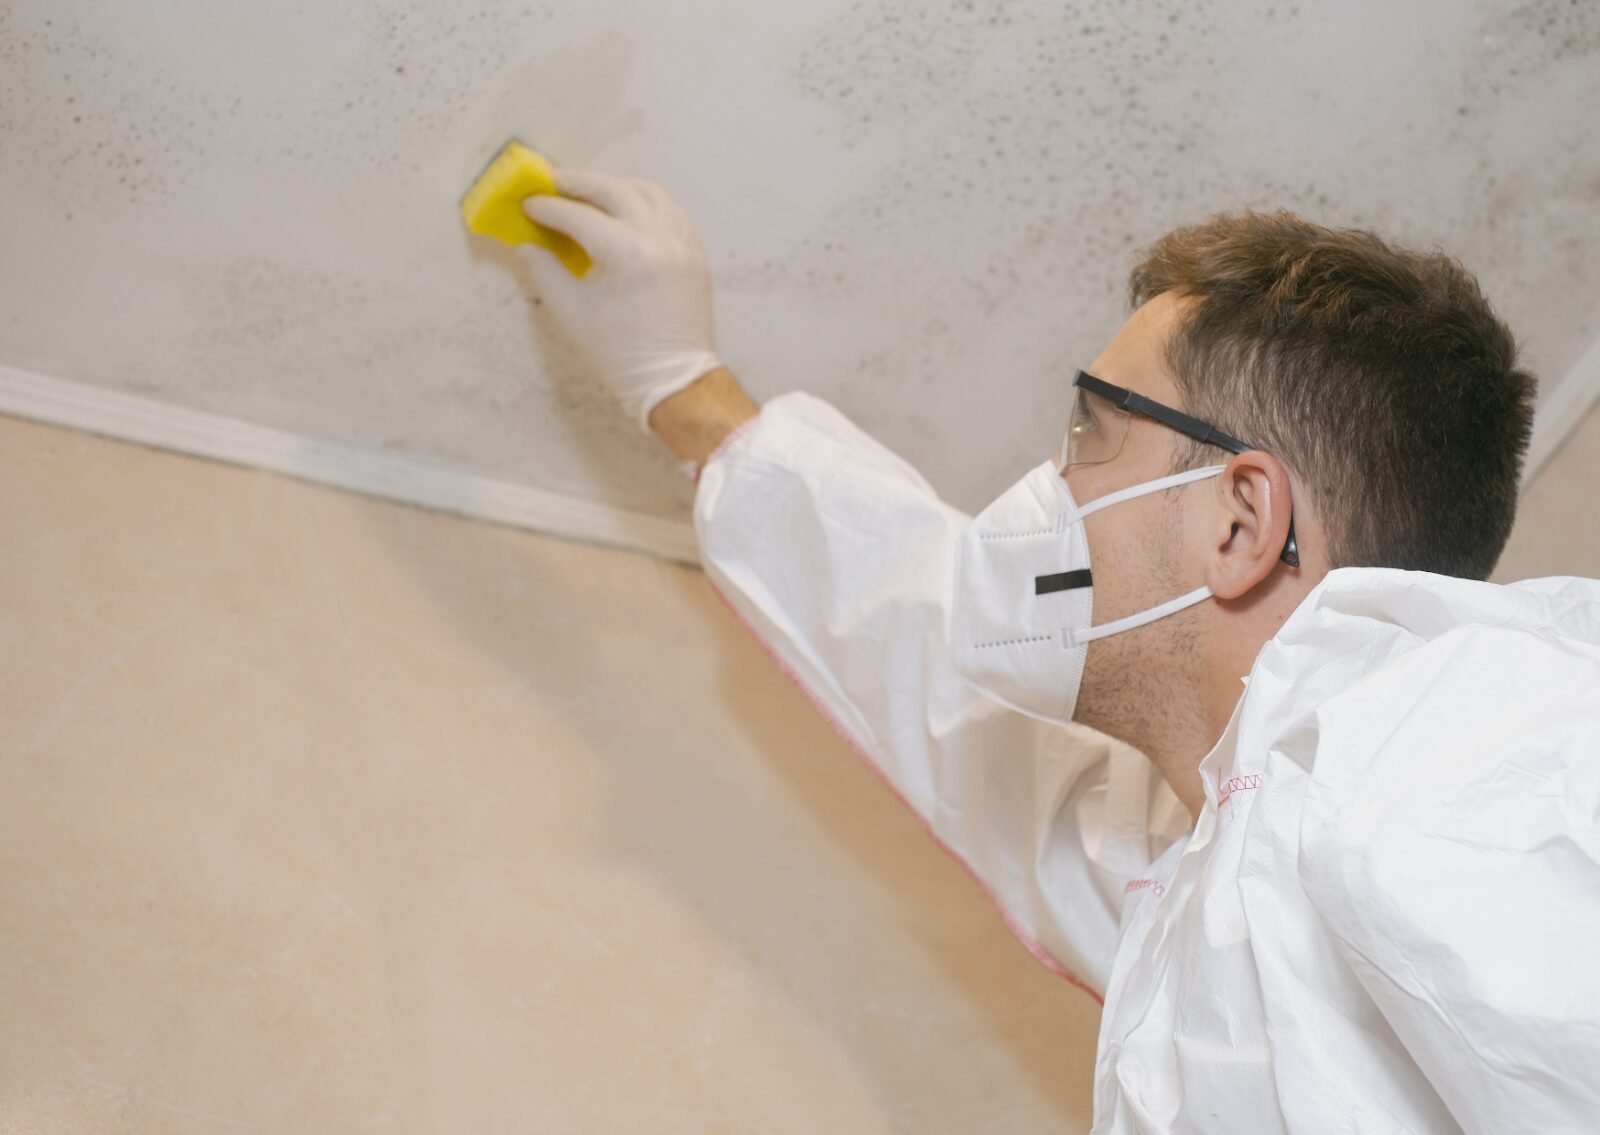
Contaminants like dirt, dust, oil-grease dirt, soluble contaminants, visible oil, and foreign matter can all interfere with the paint’s ability to bond. When left on the surface, these residues trap moisture and lead to failure in the coating system.
Whether it’s old paint, grease stains, or cutting compounds, the cleaning process must remove all visible and invisible barriers. The use of trisodium phosphate or degreasers is common to eliminate stubborn build-up and prepare for further prep techniques.
How Should You Approach Cleaning an Existing Surface Before Painting?

Cleaning an existing surface isn’t as simple as rinsing it with a garden hose. Depending on the condition, painters might need to lightly sand, use vacuum cleaning, or chemically wash the surface. This step is vital to remove any other contaminants or deteriorated existing coatings.
In some cases, you may be dealing with failed coating, in which complete removal is necessary before new application. A sound surface is the goal, something clean, stable, and free from issues that might compromise the new finish.
What’s the Best Method to Remove Loose Paint, Loose Rust, and Loose Mill Scale?

To ensure good adhesion, all loose paint, loose rust, and loose mill scale must be taken off. These can be removed through scraping, sanding, or more advanced tool cleaning. If left, they can cause uneven absorption of paint or create air pockets underneath the new layer.
A solid prep team knows how to evaluate the surface area and select the right approach based on the condition. Missing this step is one of the main reasons paint peels early.
When Should You Use Power Tool Cleaning vs. Hand Tool Cleaning?

Power tool cleaning is perfect for large, damaged areas or tough surfaces. Tools like needle guns or grinders with abrasives can remove tightly adherent mill scale, chipped old coatings, or stubborn grime. Meanwhile, hand tool cleaning, using scrapers, wire brushes, or sandpaper, is better for smaller areas or touch-ups.
Both methods play a key role in surface prep, especially when dealing with old paint and mixed material surfaces like wood and metal.
What Is Solvent Cleaning and When Is It Necessary?

Solvent cleaning targets oily substances that water alone can’t remove. It’s commonly used before any mechanical or chemical prep. Visible oil, grease, and cutting compounds are dissolved and wiped away to ensure nothing blocks coating application.
Solvents are a must for prepping metal siding, garage doors, and trim, especially in commercial or high-use settings where surface contaminants are more severe.
How Do You Use Blast Cleaning Techniques Like White Metal or Brush Off Blast Cleaning?

Blast cleaning is an aggressive method ideal for industrial or highly damaged painted surfaces. Techniques include:
- White metal blast cleaning: Removes everything down to bare metal, including mill scale, rust, and coatings.
- Brush-off blast cleaning: A lighter version for cleaning without stripping the entire finish.
Other forms like dry blasting and abrasive blasting use air-propelled media to clean or roughen the surface. These methods help achieve the desired surface profile, which improves coating adhesion.
How Do You Prepare Bare Metal Surfaces to Accept Paint Properly?

When painting bare metal, the preparation needs to be flawless. The metal must be free from loose rust, corrosion products, and any random staining. Techniques include power tools, blast cleaning, and applying a priming coat that suits the paint type and exposure conditions.
Surface integrity is key here, just one spot of oil grease or rust can ruin the paint’s grip. The goal is always a clean surface with no interruptions to the bonding process.
What’s the Right Way to Treat Previously Painted Areas and Old Coatings?

Dealing with previously painted surfaces or old coatings requires judgment. If the original paint is in good shape, you may lightly sand and clean it for a smooth base. But when there’s damage like peeling paint or uneven thickness, you’ll need to strip those areas down to the substrate.
Make sure to blend edges, remove minor discolorations caused by weathering, and prep the transitions for a uniform look on the finished surfaces.
How Should You Repair Surface Damage Like Nail Holes, Cracks, and Minor Discolorations?

Small flaws like nail holes, dents, or minor discolorations from sun and moisture must be patched before painting. Use wood filler on wood surfaces or specialty patching compounds on siding and drywall. This keeps light shadows and marks from showing through after paint is applied.
These details might seem small, but they affect how smooth the wall appears when the light hits it.
Which Surface Preparation Methods Work Best for Exterior Surfaces Like Wood, Siding, or Stucco?

Paint roller applying reddish-brown stain to wooden deck boards during outdoor surface preparation and refinishing.
Exterior surfaces require weather-conscious surface preparation methods. On wood, for example, you’ll often need to remove old paint, fill gaps with wood filler, and treat knots or resin areas. For stucco, patching and cleaning with pressure or hand tools might be needed.
Each material behaves differently under paint, so surface preparation needs to match the substrate type and previous coatings.
How Does Proper Surface Preparation Improve the Coating System’s Performance?

When paint adheres properly, it forms a uniform film that protects the surface beneath. That’s why proper surface preparation is a must before every paint job. It helps the coating system stand up to UV, moisture, temperature shifts, and wear.
By addressing other soluble contaminants, creating the right surface profile, and starting with a sound surface, we reduce the risk of bubbling, flaking, and staining.
What Are the Final Steps Before You Begin the Painting Process?

The last stage includes a final hand cleaning or vacuum cleaning, a visual inspection for slight streaks or foreign matter, and application of any spot priming coat. Whether you’re painting indoors or on exterior surfaces, nothing should interfere with the brush or sprayer.
The surface should feel smooth, dry, and uniform, free from mill scale, dust, or other surface contaminants.
Ready to Start Your Painting Project with Expert Surface Prep?

When you’re planning your next painting project, don’t skip the most important step. High-quality paint means nothing if it doesn’t stick well. Our team at M&E Painting and Roofing offers thorough surface preparation that lays the groundwork for outstanding, long-lasting results.
Whether you’re restoring a home in Loveland, reviving a deck in Fort Collins, or tackling commercial siding in Windsor and Timnath, we’re here to help. Contact us for a quote and discover how prep makes all the difference.
Final Thoughts
We believe that every successful paint job begins before the first coat is applied. That’s why M&E Painting and Roofing always emphasizes solid surface prep, because when we do the work right the first time, your property looks better, longer.
From power tool cleaning to solvent cleaning, and everything in between, our goal is to deliver results that last for years. Don’t settle for shortcuts. Choose quality preparation and a finish that stands the test of time.
Works Cited
American Coatings Association. Coating Failure: Causes and Prevention. Paint.org, 2020, https://www.paint.org/coating-failure/.
M&E Painting and Roofing. Home Page. 2024. https://mandepainting.com/
M&E Painting and Roofing. Painting Services. 2024. https://mandepainting.com/painting/
Sherwin-Williams. Painting Basics: Importance of Surface Preparation. Sherwin-Williams, 2021, https://www.sherwin-williams.com/painting-contractors/products/resources/painting-basics-surface-preparation
SSPC: The Society for Protective Coatings. Surface Preparation and Cleaning Standards. SSPC, 2019, https://www.sspc.org/standards/
Frequently Asked Questions:
1. What does surface preparation for painting mean?
Surface preparation for painting refers to all the steps taken to clean, repair, and condition a surface before paint is applied. It includes removing dirt, oil, loose paint, and other surface contaminants to ensure strong adhesion and a long-lasting finish.
2. Why is surface preparation so important in painting?
Without proper surface prep, paint may peel, bubble, or wear out quickly. Surface preparation improves coating adhesion and helps the finish look smoother and last longer.
3. What tools are used for surface preparation?
Common tools include scrapers, sandpaper, power tools, needle guns, and cleaning equipment like vacuums. For tougher jobs, professionals use power tool cleaning, abrasive blasting, or blast cleaning.
4. When should you use hand tool cleaning instead of power tools?
Hand tool cleaning is best for small touch-ups or delicate surfaces, while power tool cleaning is more effective for larger areas or stubborn materials like tightly adherent mill scale.
5. How do you clean oily or greasy surfaces before painting?
Use solvent cleaning methods to remove visible oil, grease, or cutting compounds that soap and water can’t eliminate. This ensures a clean, paint-ready surface.
6. Can I paint over old paint, or do I need to remove it first?
If the old coatings are stable and smooth, you can lightly sand and paint over them. However, if there's peeling paint or a failed coating, it must be removed to avoid problems with the new paint job.
7. What are the most common surface contaminants that affect painting?
Common issues include dirt, dust, oil grease dirt, loose rust, and foreign matter. These must be cleaned thoroughly to prevent adhesion failures.
8. How should I prepare bare metal before painting?
Bare metal needs to be cleaned of all mill scale, corrosion products, and random staining. After blast cleaning or sanding, a priming coat should be applied to prevent rust and improve bonding.
9. What’s the best way to prep exterior surfaces like wood or stucco?
Exterior wood often needs wood filler, sanding, and washing. Stucco may require patching and surface cleaning. Every material requires a different surface preparation method depending on its condition.
10. How do professionals ensure the surface is ready before painting?
They inspect the entire surface for any loose paint, minor discolorations, or other contaminants. Techniques like vacuum cleaning, sanding, and applying a priming coat are used to create a stable, paintable surface.
