In our quest to enhance and protect our homes, we often overlook the small details that make a big difference. One such detail is caulking, an essential aspect of any outdoor project, whether it be sealing windows, doors, or cracks in the exterior of our homes. At M&E Painting, we understand that the success of caulking significantly depends on various factors, with temperature being a crucial one. Incorrect temperature during the application can compromise the integrity and durability of caulking, leading to the need for frequent repairs and maintenance. That’s why we’re here to guide you through the ideal temperature for caulking outside, ensuring your projects in Fort Collins, CO, Windsor, CO, and Timnath, CO stand the test of time.
What Is Caulking?
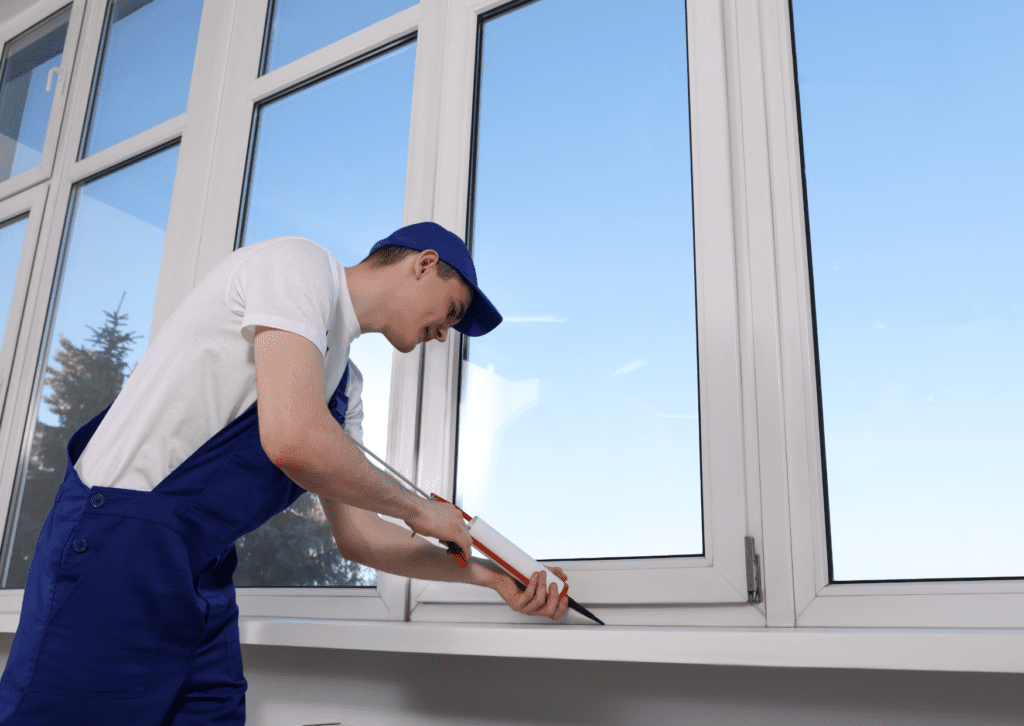
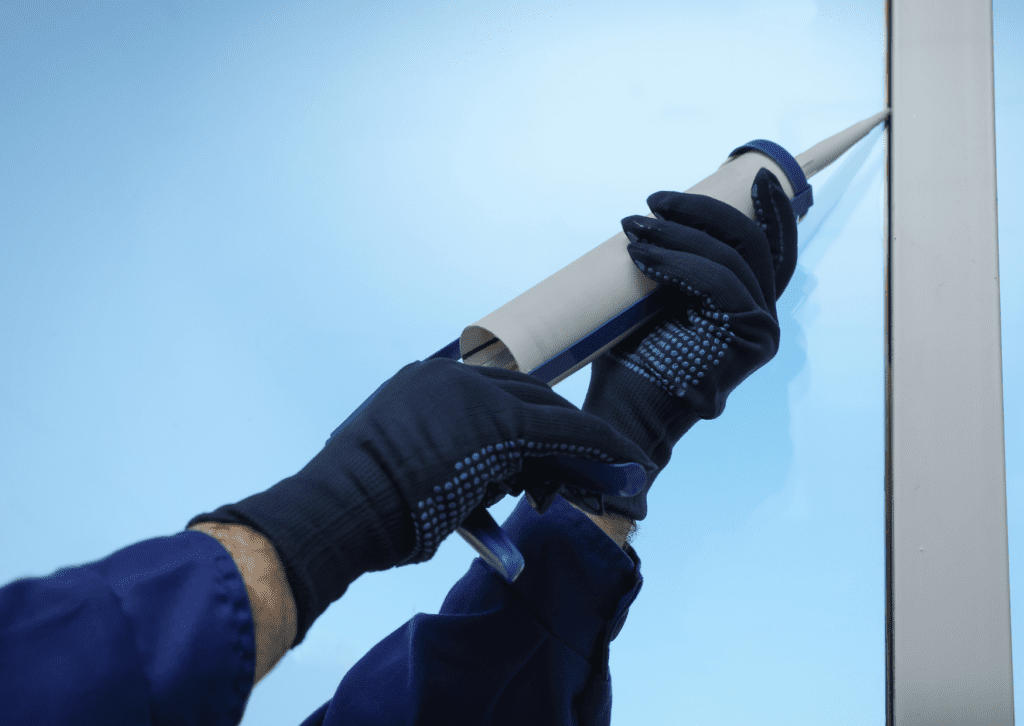
Caulking serves as a versatile barrier against water, air, and pests, making it indispensable for outdoor maintenance. The variety of caulking materials available—silicone, latex, and acrylic—each come with their specific application temperatures and benefits. Understanding the role of temperature in the curing process of these materials is vital, as it directly affects their adhesion and longevity.
What Is the Problem with Temperature?
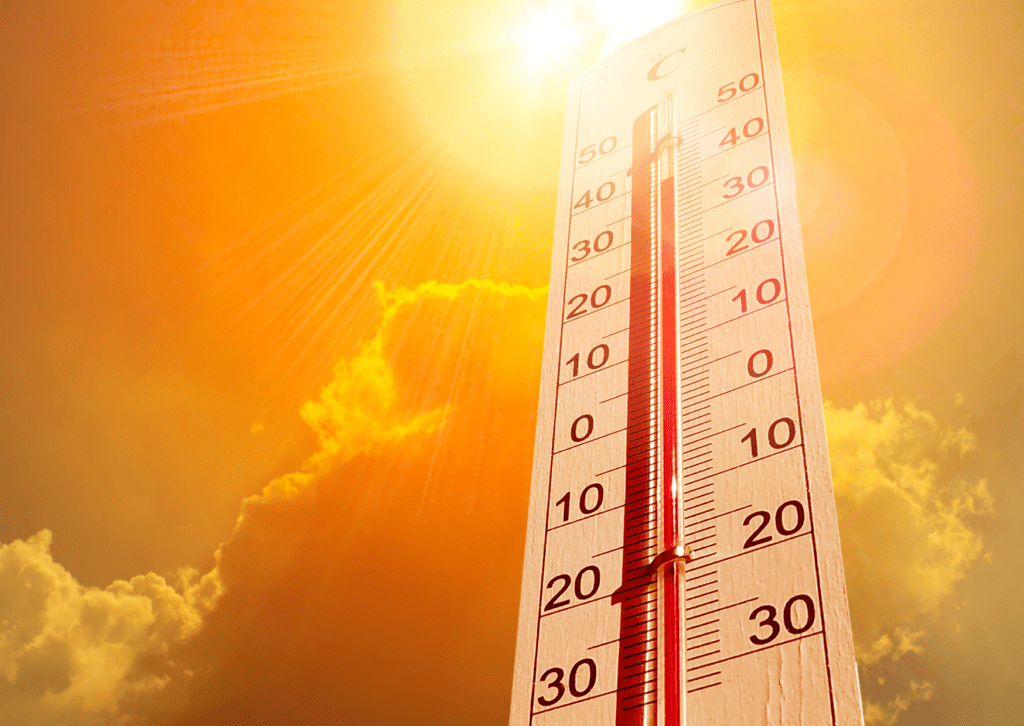
Temperature extremes can be the enemy of outdoor caulking projects. When applied in too high or too low temperatures, caulking may not cure properly, leading to less than optimal adhesion, shrinkage, and even cracking. These temperature-induced issues not only affect the appearance of caulking but can also undermine its protective qualities.
What Is the Ideal Temperature?
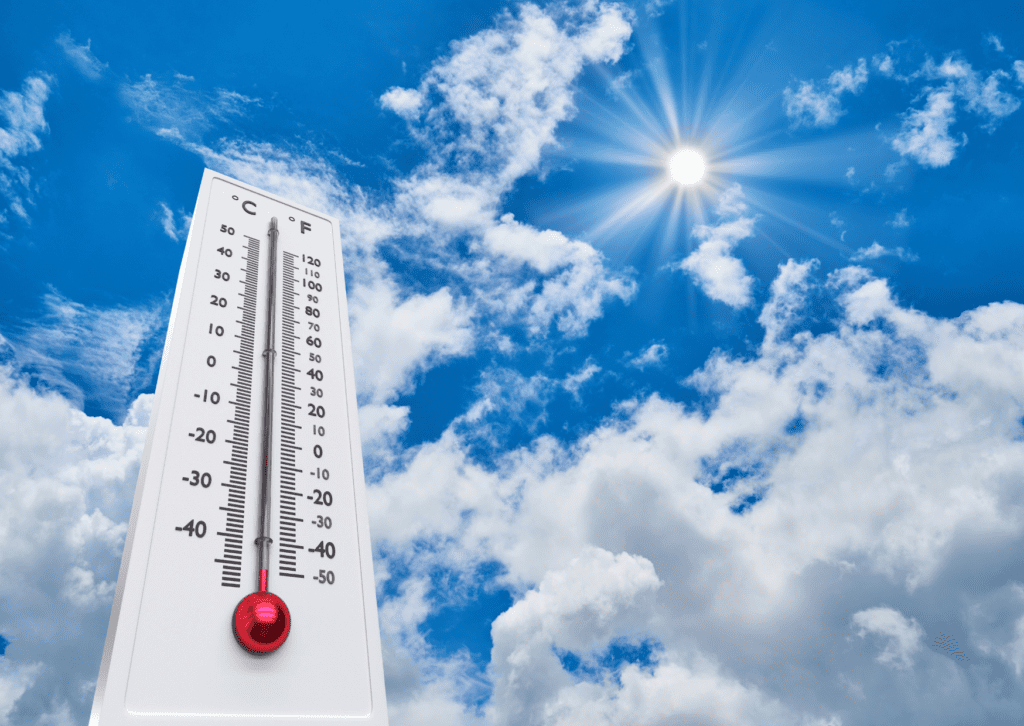
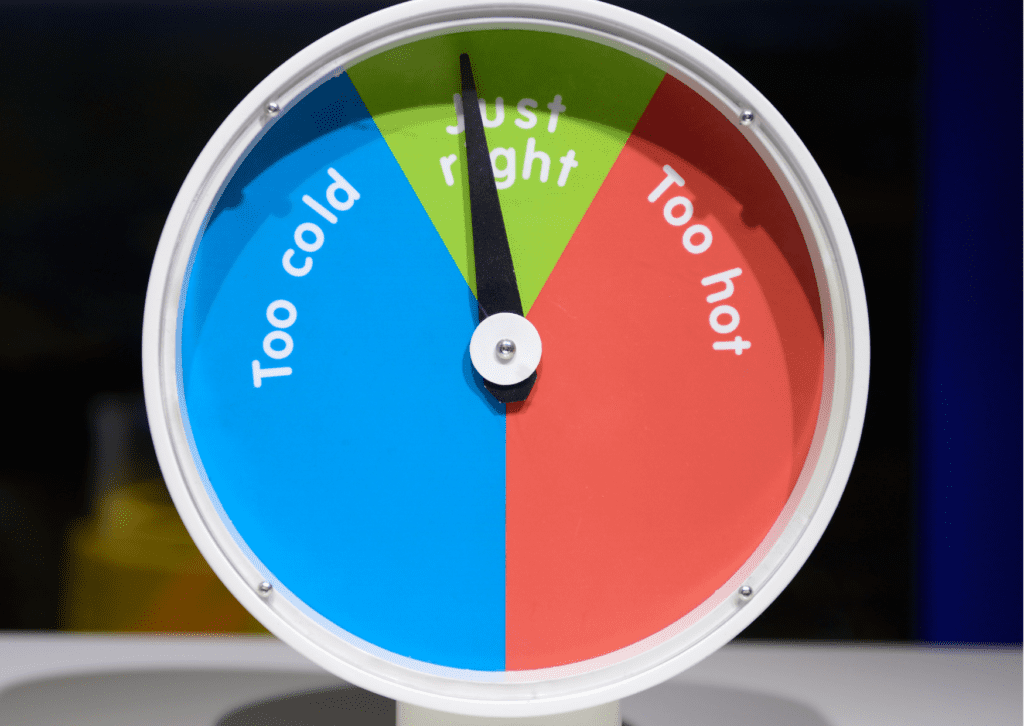
The recommended temperature range for applying most caulking materials is between 40°F and 90°F to ensure optimal adhesion and curing. This range supports the chemical processes involved in curing and allows the caulk to form a durable, flexible seal. Below is a table summarizing the effectiveness of caulking across different temperature ranges:
| Temperature Range | Effectiveness | Comments |
| Below 40°F | Low | Poor Adhesion due to cold conditions; risk of caulk not setting properly. |
| 40°F to 90°F | High | Ideal range for optimal adhesion and flexibility. Caulking cures properly and forms a durable seal. |
| Above 90°F | Low | Too Fast Drying; caulk may dry too quickly, potentially causing cracks or inadequate sealing. |
How to Prepare for Caulking in Different Weather Conditions?
Adapting your caulking project to the weather conditions is key to achieving a successful outcome. In hot weather, aim to caulk during the early morning or late evening to avoid the heat of the day. For colder climates, consider using warming blankets or portable heaters to maintain the caulk at a manageable temperature.
What Are the Expert Techniques for Successful Outdoor Caulking?

Achieving a professional-quality seal with your outdoor caulking project involves more than just applying the caulk. Temperature considerations aside, the technique plays a crucial role. Here’s how you can ensure your caulking withstands the test of time, weather, and temperature fluctuations:
- Surface Preparation: Ensure the surface is clean, dry, and free of old caulk or debris. Use a putty knife or a caulk remover tool. This step is vital for ensuring the new caulk adheres properly.
- Application Temperature: Check the forecast and plan your project when the temperature is within the ideal range. Early morning or late evening are the best times during hot days, and sunny midday periods are preferable in colder months.
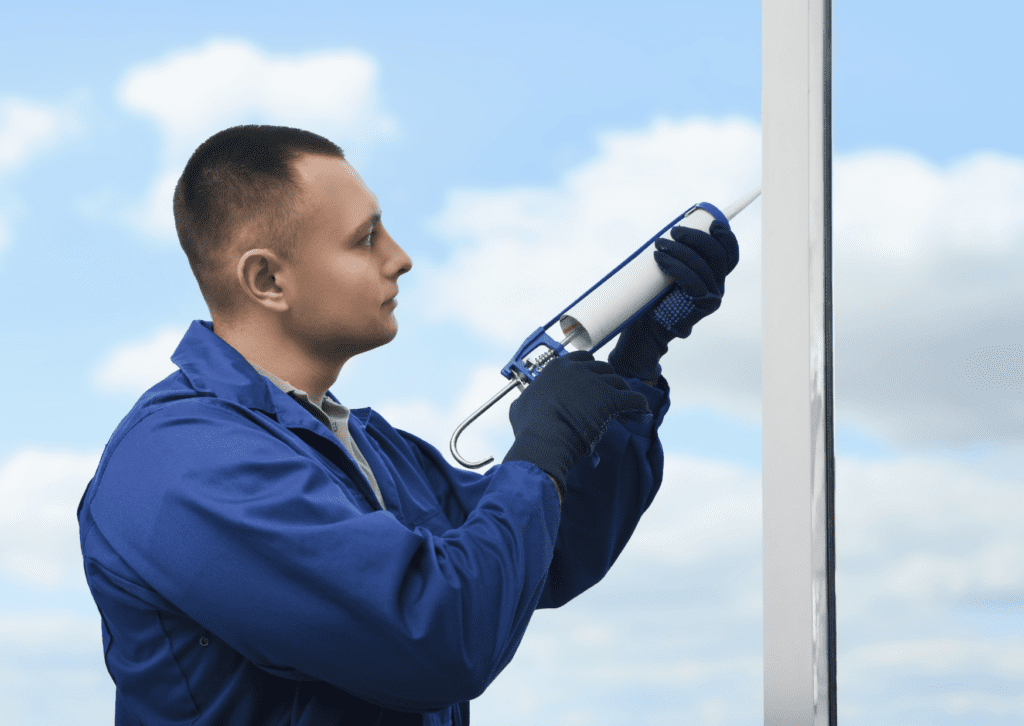
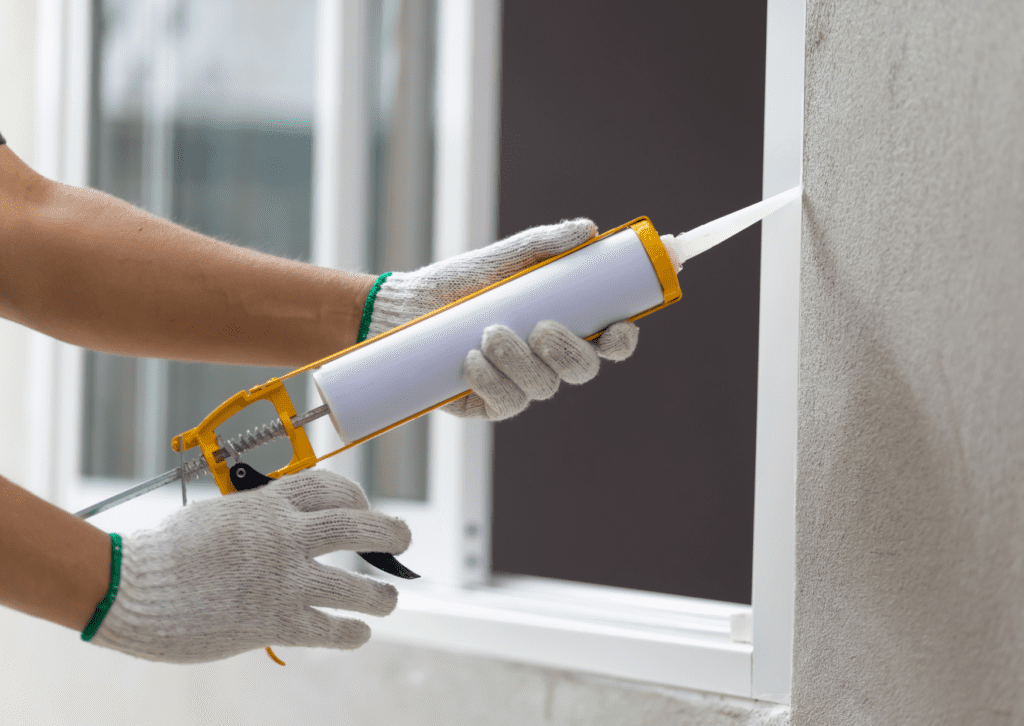
- Applying the Caulk: Cut the tip of the caulk tube at a 45-degree angle. Use a caulking gun for a smooth, consistent bead. Apply the caulk smoothly and steadily, filling the gap completely.
- Smoothing the Caulk: Wet your finger or a caulk finishing tool and smoothly drag it along the bead to press the caulk into the gap and smooth the surface.
- Curing Time: Allow the caulk to cure fully before exposing it to any moisture. The curing time can vary based on temperature and humidity, so check the manufacturer’s instructions.
How to Troubleshoot Common Caulking Issues Related to Temperature?
Temperature can lead to a few common issues with caulking: premature curing, not setting properly, or not adhering well. Here’s how to address these problems:
- Premature Curing: If caulk skins over too quickly in hot temperatures, it might not adhere well to the surfaces. To fix, remove the affected caulk and reapply during a cooler part of the day.
- Poor Adhesion: Cold temperatures can prevent caulk from adhering properly. If this happens, remove the poorly adhered caulk, warm the application area gently (if feasible), and reapply.
- Preventative Measures: Always check the weather forecast before starting your caulking project. Use products designed for extreme temperatures if you live in an area with significant weather fluctuations.
Ready to tackle your outdoor caulking projects with confidence? Call now for our comprehensive checklist to ensure you’ve got all your bases covered, from selecting the right type of caulk to applying it perfectly in any weather condition. And remember, if you’re looking for expert advice or the right products for your caulking needs in Fort Collins, CO, Windsor, CO, or Timnath, CO, M&E Painting is here to help. Visit our website to learn more about how we can make your next outdoor caulking project a success.
Why Does Temperature Matter?
We at M&E Painting have seen firsthand the difference that paying attention to temperature can make in the longevity and effectiveness of outdoor caulking projects. By following the guidelines we’ve laid out, you can ensure that your caulking looks great, functions well, and stands up to the elements for years to come. Remember, the right temperature for caulking outside is just as important as the quality of the caulk itself. Use this knowledge to improve your home’s durability and curb appeal.
Frequently Asked Questions:
What temperature range is ideal for applying caulk outdoors?
The recommended temperature range for applying most caulking materials outdoors is between 40°F and 90°F. This range ensures optimal adhesion and curing, allowing the caulk to form a durable and flexible seal. Applying caulk within this temperature range supports the chemical processes involved in curing and helps prevent issues like poor adhesion, shrinkage, or cracking.
How can extreme temperatures affect the performance of outdoor caulking?
Extreme temperatures, both hot and cold, can negatively impact the performance of outdoor caulking. When applied at temperatures that are too high, caulk may cure prematurely, leading to poor adhesion and potential cracks. On the other hand, cold temperatures can prevent caulk from adhering properly to surfaces, resulting in a weak seal. These temperature-induced issues can compromise the appearance and protective qualities of the caulking.
What steps can be taken to prepare for caulking in different weather conditions?
To prepare for caulking in different weather conditions, it’s essential to adapt your project to the specific circumstances. In hot weather, plan to caulk during the cooler parts of the day, such as early morning or late evening, to avoid the intense heat. If you’re working in colder climates, consider using warming blankets or portable heaters to maintain the caulk at a suitable temperature during application. Always check the weather forecast before starting your project and choose products designed for the expected temperature range.
What are some expert techniques for achieving a successful outdoor caulking project?
To achieve a professional-quality seal with your outdoor caulking project, follow these expert techniques:
- Prepare the surface by ensuring it is clean, dry, and free of old caulk or debris.
- Plan your project when the temperature is within the ideal range of 40°F to 90°F.
- Use a caulking gun to apply the caulk smoothly and steadily, filling the gap completely.
- Smooth the caulk using your finger or a caulk finishing tool to press it into the gap and create an even surface.
- Allow the caulk to cure fully before exposing it to moisture, following the manufacturer’s instructions for curing time based on temperature and humidity.
How can temperature-related caulking issues be addressed?
If you encounter temperature-related caulking issues, such as premature curing or poor adhesion, here’s how to address them:
- For premature curing in hot temperatures, remove the affected caulk and reapply during a cooler part of the day.
- If cold temperatures have prevented proper adhesion, remove the poorly adhered caulk, gently warm the application area if possible, and reapply the caulk.
- To prevent future issues, always check the weather forecast before starting your project and use products designed for the expected temperature range.