At M&E Painting, we understand the challenges and rewards of home improvement projects. One common task that can seem daunting is removing paint from metal surfaces. Whether you’re restoring an old piece of furniture in Fort Collins, CO, renovating a classic car in Windsor, CO, or tackling a home project in Timnath, CO, we’re here to guide you through the process. In this article, we’ll share our professional tips on how to remove paint from metal, ensuring a smooth and successful outcome.
Understanding the Basics

Why Remove Paint from Metal?
Before diving into the how-to, let’s discuss why removing paint from metal is sometimes necessary. Over time, paint on metal surfaces can chip, fade, or peel, leading to a less-than-ideal appearance. Removing old paint can also be a crucial step in preparing metal for a new coat, ensuring better adhesion and a more polished finish, this process may be an elbow grease but worth it.
Beyond aesthetic concerns, removing paint from metal is often essential for maintaining the integrity of the metal itself. Metal surfaces, especially those exposed to the elements in places like Fort Collins, CO, Windsor, CO, and Timnath, CO, can suffer from corrosion under layers of old paint. When paint cracks or peels, moisture can seep in, leading to rust and weakening the metal. By stripping away old paint, we can assess the condition of the metal underneath, address any corrosion issues, and apply protective coatings to extend the life of the metal. This proactive approach not only enhances the appearance but also preserves the functionality and strength of your metal items, whether they’re part of a car, outdoor furniture, or architectural features of your home.
Additionally, removing old paint can reveal the true character and details of metal pieces, particularly in antique or vintage items. Often, layers of paint can obscure fine details, unique textures, or the original craftsmanship of a metal object. By carefully removing these layers, we can uncover and restore the original beauty of the metal, allowing its authentic character to shine through. This is especially rewarding in restoration projects where the goal is to bring an item back to its former glory. At M&E Painting, we appreciate the history and stories behind these metal pieces and take pride in helping our clients in Fort Collins, CO, Windsor, CO, and Timnath, CO, rediscover and showcase the hidden treasures in their homes or collections.
Safety First

When undertaking a project like this, safety is paramount. We’ll guide you through the necessary precautions to protect yourself and your surroundings.
- Protective Gloves: Ensure you wear protective gloves to shield your hands from chemicals and sharp edges. When working with heat sources like heat guns, it is crucial to use heat resistant gloves to prevent burns and handle hot materials safely.
Personal Protective Equipment (PPE)
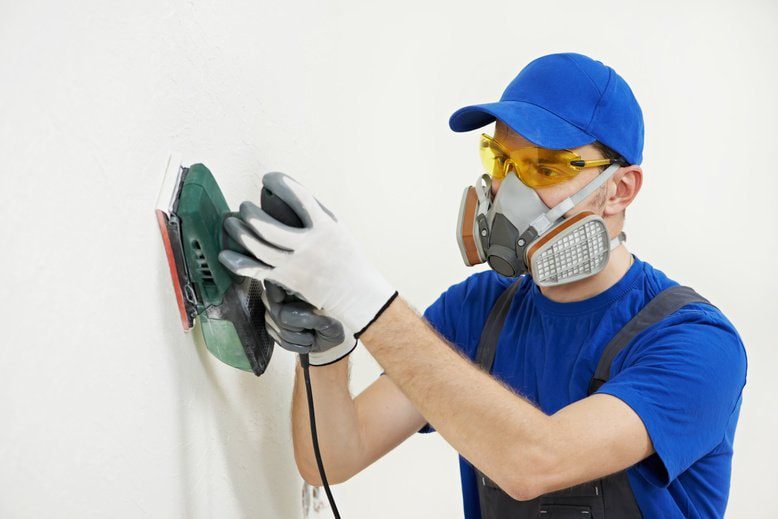
- Respirator or Face Mask: When dealing with chemical strippers or sanding, it’s crucial to protect your lungs from harmful fumes and dust. A high-quality respirator or a face mask can provide the necessary protection.
- Safety Goggles: Protecting your eyes is non-negotiable. Whether you’re chipping away old paint or dealing with potentially hazardous chemicals, safety goggles are a must to prevent any debris or splashes from harming your eyes.
- Protective Gloves:
- Use chemical-resistant gloves, especially when handling paint strippers. Gloves not only protect your skin from harsh chemicals but also from cuts and abrasions during the process.
- Use heat-resistant gloves when working with heat sources like heat guns or boiling water. These gloves ensure safety while handling hot materials and help prevent burns during the paint removal process.
- Long-Sleeved Clothing and Apron: Covering your skin is essential. Long-sleeved clothing and a durable apron can shield you from splatters and spills.
Environmental Safety
- Well-Ventilated Area: Always work in a well-ventilated space, especially when using chemical paint removers. If you’re working indoors, open windows and use fans to circulate fresh air.
- Safe Storage of Materials: Keep all chemicals and tools safely stored, especially when not in use. This is crucial to prevent accidental spills or children and pets from accessing hazardous materials.
- Fire Safety: If you’re using a heat gun, be aware of the fire risks. Keep a fire extinguisher nearby and be cautious of flammable materials in your workspace.
- Disposal of Hazardous Waste: Properly dispose of used chemicals and paint residues. Check with local waste management in Fort Collins, CO, Windsor, CO, and Timnath, CO for guidelines on disposing of hazardous materials.
By following these safety measures, you can ensure that your paint removal project is not only successful but also safe for you and those around you. Remember, taking the time to prepare and protect yourself can make all the difference in the smooth execution of your project.
Preparing for Metal Paint Removal

Gathering Your Tools and Materials
A successful metal paint removal project starts with the right tools. We’ll list the essential items you’ll need, many of which you might already have in your garage or workshop.
- Chemical Paint Stripper: For those opting for a chemical method, a high-quality paint stripper is crucial. Choose one that’s specifically designed for metal surfaces. Remember, safety is key, so also pick up some chemical-resistant gloves and eye protection.
- Sanding Tools: If you’re planning to sand the paint off, you’ll need a variety of sandpapers, ranging from coarse to fine grit. A hand sander or a power sander can make the job easier and quicker. Don’t forget a dust mask to avoid inhaling any particles.
- Heat Gun: A heat gun is an effective tool for stripping paint. Ensure it’s designed for paint removal, and practice caution as these tools get extremely hot.
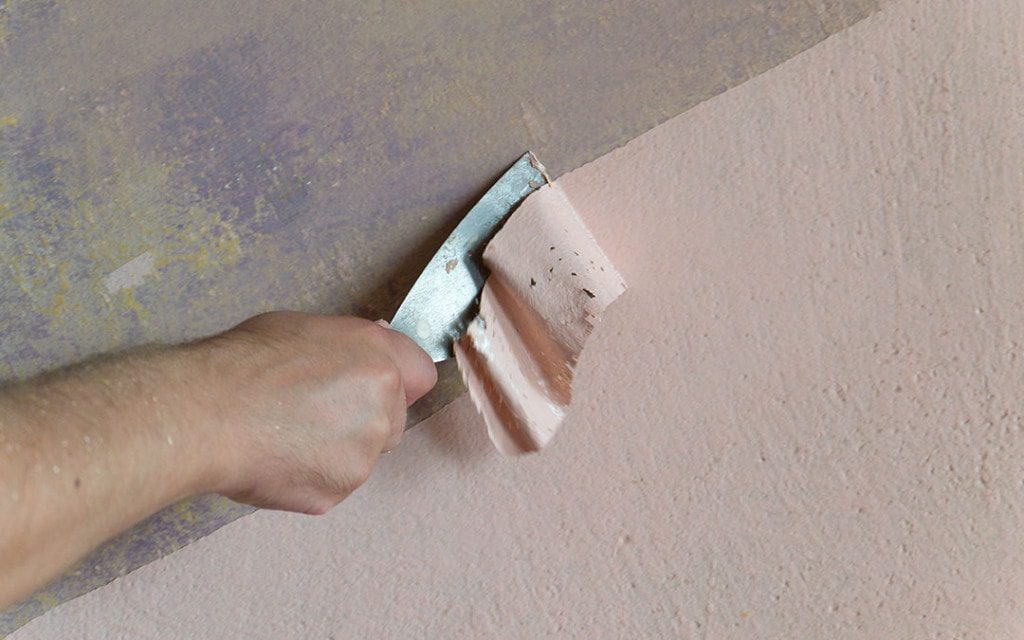
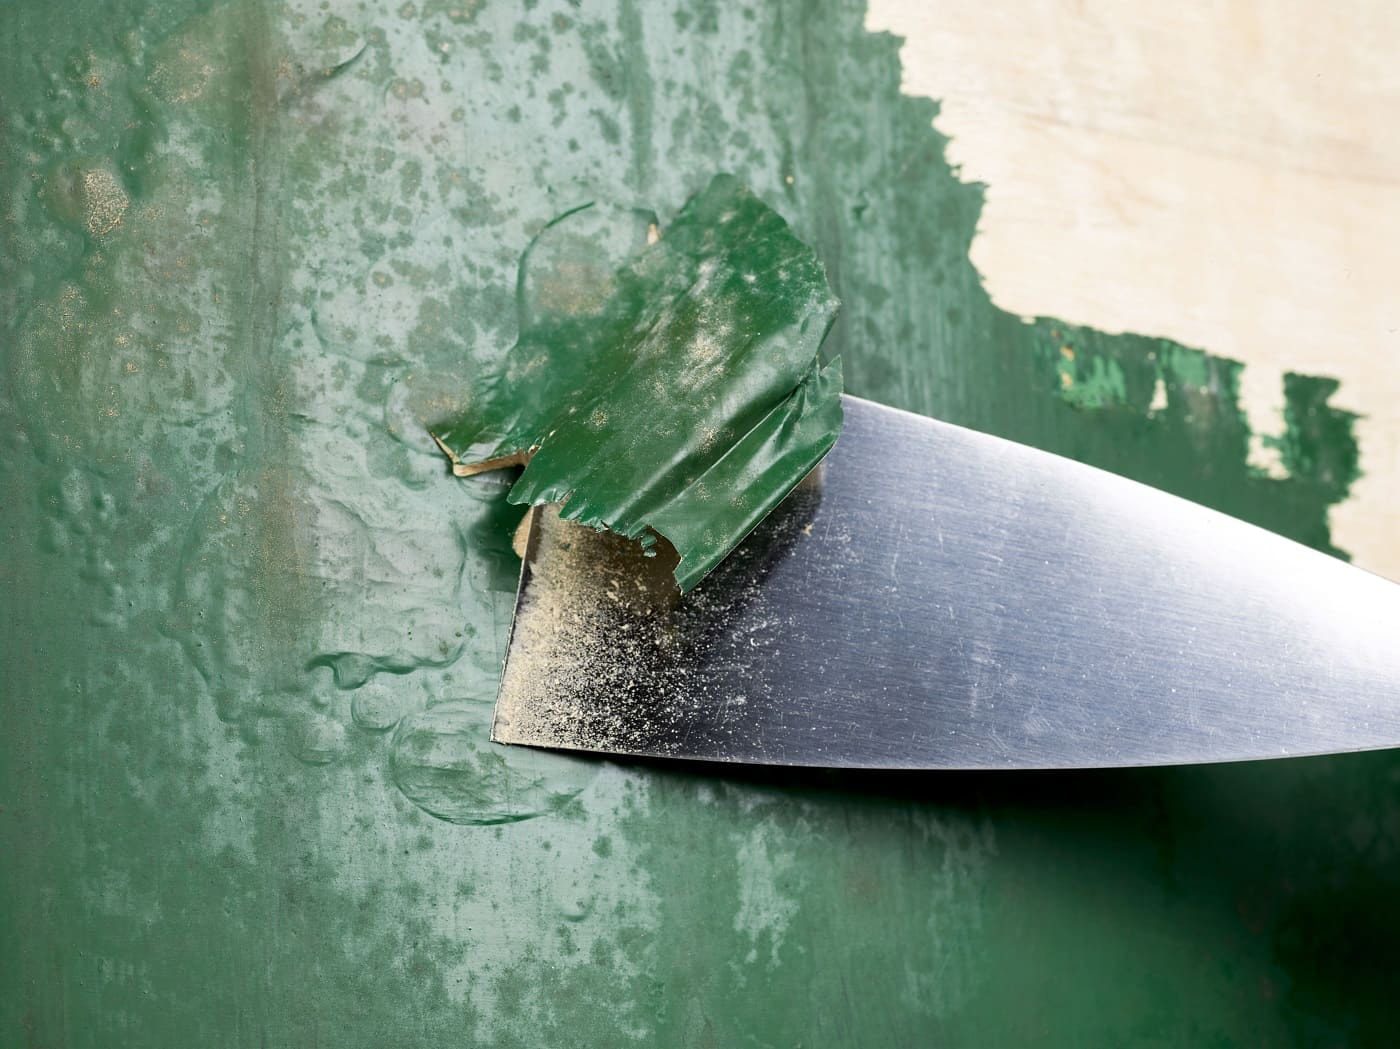
- Scrapers and Putty Knives: These are essential for gently scraping away the paint after applying the stripper or heating the paint. Opt for plastic scrapers for delicate surfaces to avoid scratching the metal.
- Angle Grinder: An angle grinder with attachments like strip disks and sanding discs is highly effective for removing paint from large metal surfaces such as garage doors, furniture, and pipes. However, use it carefully to avoid damaging the metal.
- Safety Gear: Safety can’t be overstated. Along with chemical-resistant gloves and eye protection, consider a respirator mask if you’re working with chemical strippers or generating a lot of dust.
- Clean-Up Supplies: Have rags, a metal brush, and a suitable cleaner on hand for post-removal cleanup. This will help in preparing the metal for its next phase, whether it’s repainting or polishing.
In addition to these tools, it’s important to have a clear workspace. Whether you’re working in a garage in Fort Collins, CO, a shed in Windsor, CO, or an outdoor space in Timnath, CO, ensure your area is well-ventilated, free from clutter, and safe from fire hazards, especially when working with chemical strippers or heat guns. A well-prepared workspace not only makes the job easier but also safer.
By gathering these tools and setting up your workspace thoughtfully, you’re laying the groundwork for a successful paint removal project. Remember, at M&E Painting, we’re all about doing it right the first time, and having the right tools is the first step in that direction.
Setting Up Your Workspace
Choosing and preparing your workspace is crucial. We’ll provide tips on how to set up an area that’s safe, well-ventilated, and suitable for the task at hand. When selecting a workspace, especially in areas like Fort Collins, CO, Windsor, CO, or Timnath, CO, consider the local climate and weather conditions. An ideal space is dry and sheltered, protecting you and the metal surface from elements like wind and rain, which can affect the paint removal process. Ensure good ventilation to safeguard against fumes, particularly if you’re using chemical strippers. Set up your workspace with plenty of light – natural light is best, but if that’s not possible, use bright, artificial lights. This will help you see the work surface clearly and identify any remaining paint spots or rust patches that need extra attention. Remember, a well-organized and thoughtfully set-up workspace not only ensures safety but also makes the paint removal process more efficient and enjoyable.
Step-by-Step Guide to Removing Paint from Metal
Method 1: Chemical Paint Strippers
Chemical strippers are a popular choice for removing paint from metal. We’ll walk you through the process, from application to removal, while emphasizing safety and effectiveness. To start, select a chemical stripper suitable for metal surfaces; there are various types available, including gel and liquid forms. Apply a generous layer of the stripper onto the painted metal surface using a brush or roller, ensuring even coverage. Allow the stripper to sit for the time specified by the manufacturer – usually between 15 minutes to an hour. During this time, the chemical will penetrate and loosen the paint layers. You’ll notice the paint start to bubble and lift from the metal surface, indicating that it’s ready to be scraped off. Using a plastic scraper or putty knife, gently remove the paint, taking care not to scratch the metal underneath. For intricate or hard-to-reach areas, a wire brush or an old toothbrush can be effective. Once all the paint has been removed, it’s important to neutralize the chemical stripper, following the manufacturer’s instructions. This often involves wiping the surface with a specific solution or plain water. Finally, thoroughly clean the metal with a damp cloth to remove any residual stripper and paint flakes, leaving the metal clean and ready for its next finish.
Method 2: Sanding
Sanding is one of manual metal paint removal methods but can be very effective. We’ll cover the types of sandpaper to use and the technique to ensure you get down to the bare metal without damaging it.
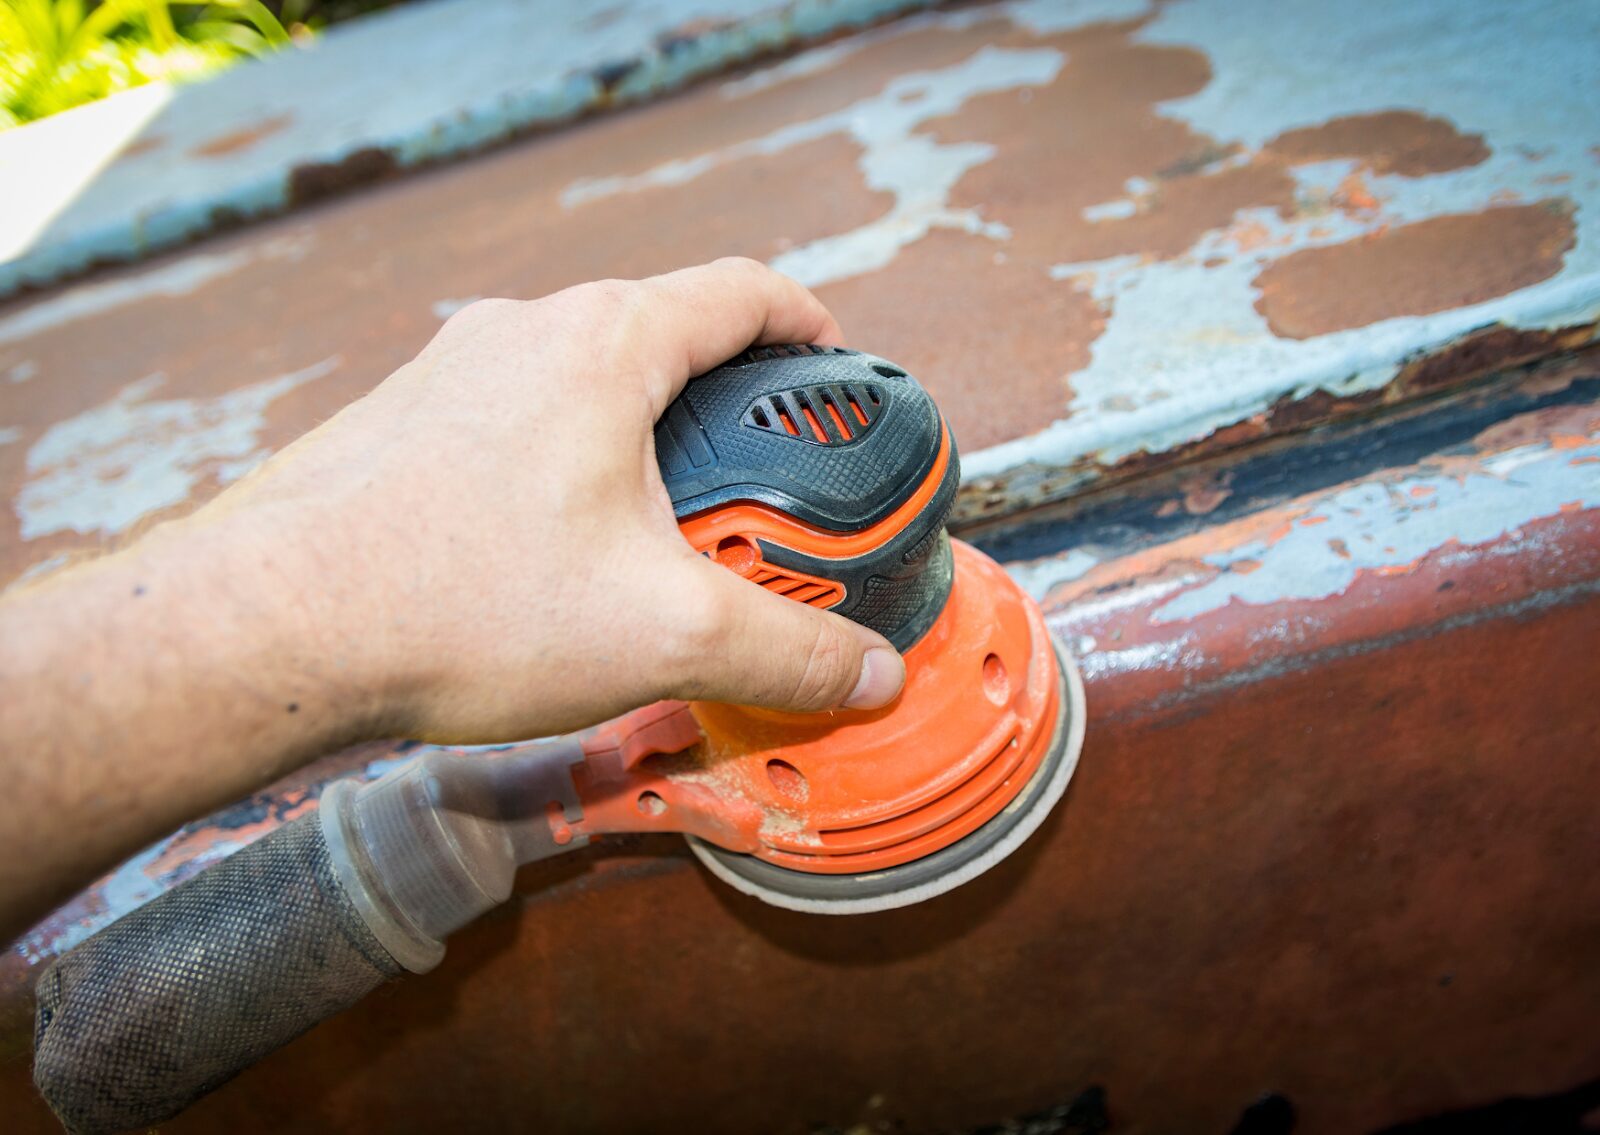
When starting the sanding process, it’s important to choose the right grit of sandpaper. Begin with a coarser grit to remove the bulk of the paint quickly. A grit of around 80 to 120 is ideal for this initial stage. Sand in a consistent, circular motion, applying steady pressure to remove the paint layer without gouging the metal. As the paint begins to come off, switch to a finer grit sandpaper, such as 180 or 220, to smooth out the surface. This gradual progression not only protects the metal but also prepares it for a new coat of paint or finish. Remember, patience is key in sanding; rushing the process can lead to scratches and uneven surfaces. Take your time and periodically wipe the surface with a clean cloth to remove dust and check your progress. This method, while labor-intensive, gives you a high degree of control and can be very satisfying, especially when you see the original metal shining through, ready for its new life.
Method 3: Heat Gun
Using a heat gun can be a quick way to lift paint from metal surfaces. We’ll explain how to use this tool safely and efficiently. When employing a heat gun, it’s essential to start by setting it to a moderate temperature to avoid damaging the metal. Gently move the heat gun back and forth over the painted area, maintaining a consistent distance to evenly distribute the heat. You’ll notice the paint starting to bubble and lift from the metal surface. At this point, use a metal scraper or putty knife to gently peel away the softened paint. It’s crucial to work in small sections, applying heat just ahead of the area you are scraping. This method ensures that the paint is in the ideal state for removal – not too hard, nor excessively heated. Remember, patience is key. Rushing the process with too much heat can warp the metal or cause burns. By methodically moving along the surface, you’ll efficiently strip the paint, leaving the metal clean and ready for its next finish.
Finishing Up
Cleaning and Prepping the Metal
Once the paint is removed, it’s important to clean and prep the metal for its next coat of paint or sealant. After removing the paint, the metal surface may have residues like dust, rust, or remnants of paint stripper. To ensure a pristine surface, start by wiping down the metal with a clean cloth to remove loose particles. For any remaining rust or stubborn residues, a fine-grade steel wool or a wire brush can be gently used. It’s crucial to be thorough yet gentle to avoid scratching the metal. Once the surface is smooth and free of debris, wash it with a mild detergent and warm water to remove any remaining chemicals or dust. Rinse the metal thoroughly and dry it completely with a clean towel. This step is vital as any moisture left on the metal can lead to rust formation, especially in the varied climates of Fort Collins, CO, Windsor, CO, and Timnath, CO. A well-prepared metal surface ensures that your new paint or sealant adheres properly, giving you a professional-looking finish that lasts.
Disposal of Materials
We believe in responsible DIY practices. This section will cover how to dispose of used materials safely and in compliance with local regulations in Fort Collins, CO, Windsor, CO, and Timnath, CO.
It’s crucial to remember that items, like used chemical paint strippers, rags soaked in solvents, and sanding dust, can be harmful to the environment if not disposed of properly. We’ll guide you through identifying hazardous waste and finding the appropriate disposal facilities in your area. Our commitment at M&E Painting is not just to help you achieve great results in your projects, but also to ensure that we all do our part in protecting our community and environment. By following these guidelines, you’ll be contributing to a safer and cleaner world, while also keeping your workspace and home free from hazardous clutter.
Mastering the Art of Paint Removal from Metal Surfaces
In concluding our guide on ‘How to Strip Paint from Metal Surfaces Like a Pro’, our team at M&E Painting hopes to have equipped you with the knowledge and techniques necessary for handling paint removal from metal with expertise and ease. Whether you’re tackling a project in Fort Collins, CO, Windsor, CO, or Timnath, CO, the methods we’ve discussed are designed to help you achieve outstanding results.
The path to a beautifully restored metal surface involves careful preparation, selecting an appropriate removal method, and a strong focus on safety. Whether it’s through chemical strippers, sanding, or using a heat gun, each technique can be highly effective when applied with precision. Moreover, the responsible disposal of materials is not just about maintaining a clean workspace; it’s about our collective responsibility towards the environment.
At M&E Painting, we’re more than just a guide; we’re your partner in bringing new life to metal surfaces. We’re always here to provide professional advice and services. Feel free to reach out to us for any painting-related queries or assistance. Together, let’s achieve the perfect finish on your metal surfaces. Contact us now for more information!
FAQ for Removing Paint from Metal Surfaces
1. How can I remove paint from metal surfaces without scratching them?
To remove paint from metal surfaces without scratching, use a plastic blade or a paint scraper with gentle pressure. For delicate or softer metals, chemical paint strippers are highly effective. Always test on a small area first to ensure the method does not damage the metal.
2. What is the best method to remove paint from metal surfaces?
The best method depends on the type of paint and the condition of the metal surface. Common methods include using chemical paint strippers, heat guns, sanding with coarse sandpaper or an orbital sander, and manual scraping with paint scrapers or wire brushes. For stubborn paint, a combination of these methods might be necessary.
3. How do chemical paint strippers work, and are they safe for metal surfaces?
Chemical paint strippers work by breaking down the paint's bond with the metal surface. Apply a thick layer of the stripper, wait for the paint to bubble and loosen, then use a paint scraper or wire brush to remove the paint. Always use chemical-resistant gloves and safety gear, and work in a well-ventilated area.
4. Can I use a heat gun to remove paint from metal surfaces?
Yes, heat guns are effective for removing paint from metal surfaces. Set the heat gun to a moderate temperature, and carefully heat the painted area until the paint begins to bubble. Use a paint scraper to remove the loosened paint. Always wear heat protective gloves to avoid burns.
5. What safety precautions should I take when removing paint from metal?
Wear safety gear such as goggles, gloves (chemical-resistant and heat protective), and a respirator mask if working with chemical strippers. Ensure the area is well-ventilated, and keep flammable objects away from heat sources like heat guns. Use a lead testing kit to check for lead paint, especially on older items.
6. How do I remove multiple layers of paint from larger metal surfaces?
For multiple layers of paint on larger metal surfaces, start with a chemical paint stripper to break down the layers. Use an orbital sander or wire wheels to remove the remaining paint. For detailed areas, a heat gun can help loosen stubborn paint. Be patient and use a combination of methods for best results.
7. What household items can I use to remove paint from metal?
Baking soda and boiling water can be used to remove paint from smaller metal objects. Boil water, add baking soda, and immerse the metal item. After some time, the paint should start to peel. Use a wire brush to remove any remaining paint. Mineral spirits can also help clean up old paint residues.
8. How do I handle peeling or loose paint on metal surfaces?
For peeling or loose paint, start by using a paint scraper or wire brush to remove as much loose paint as possible. Follow up with sanding to smooth the surface, then use a chemical stripper or heat gun for any stubborn areas. Always clean the surface thoroughly before applying new paint.
9. Can I remove spray paint from metal surfaces?
Yes, spray paint can be removed using chemical paint strippers, sanding, or a heat gun. For small areas, use a paint scraper or a wire brush. For larger areas, an orbital sander with a sanding disc can be effective. Always wear appropriate safety gear and work in a well-ventilated area.
10. What should I do if the paint remains on the metal surface after stripping?
If paint remains after stripping, use a wire brush or sanding disc to remove the remaining paint. For intricate areas, use a smaller brush or a plastic blade. Clean the surface with a clean rag or lint-free cloth soaked in mineral spirits to ensure all paint residues are removed before repainting.