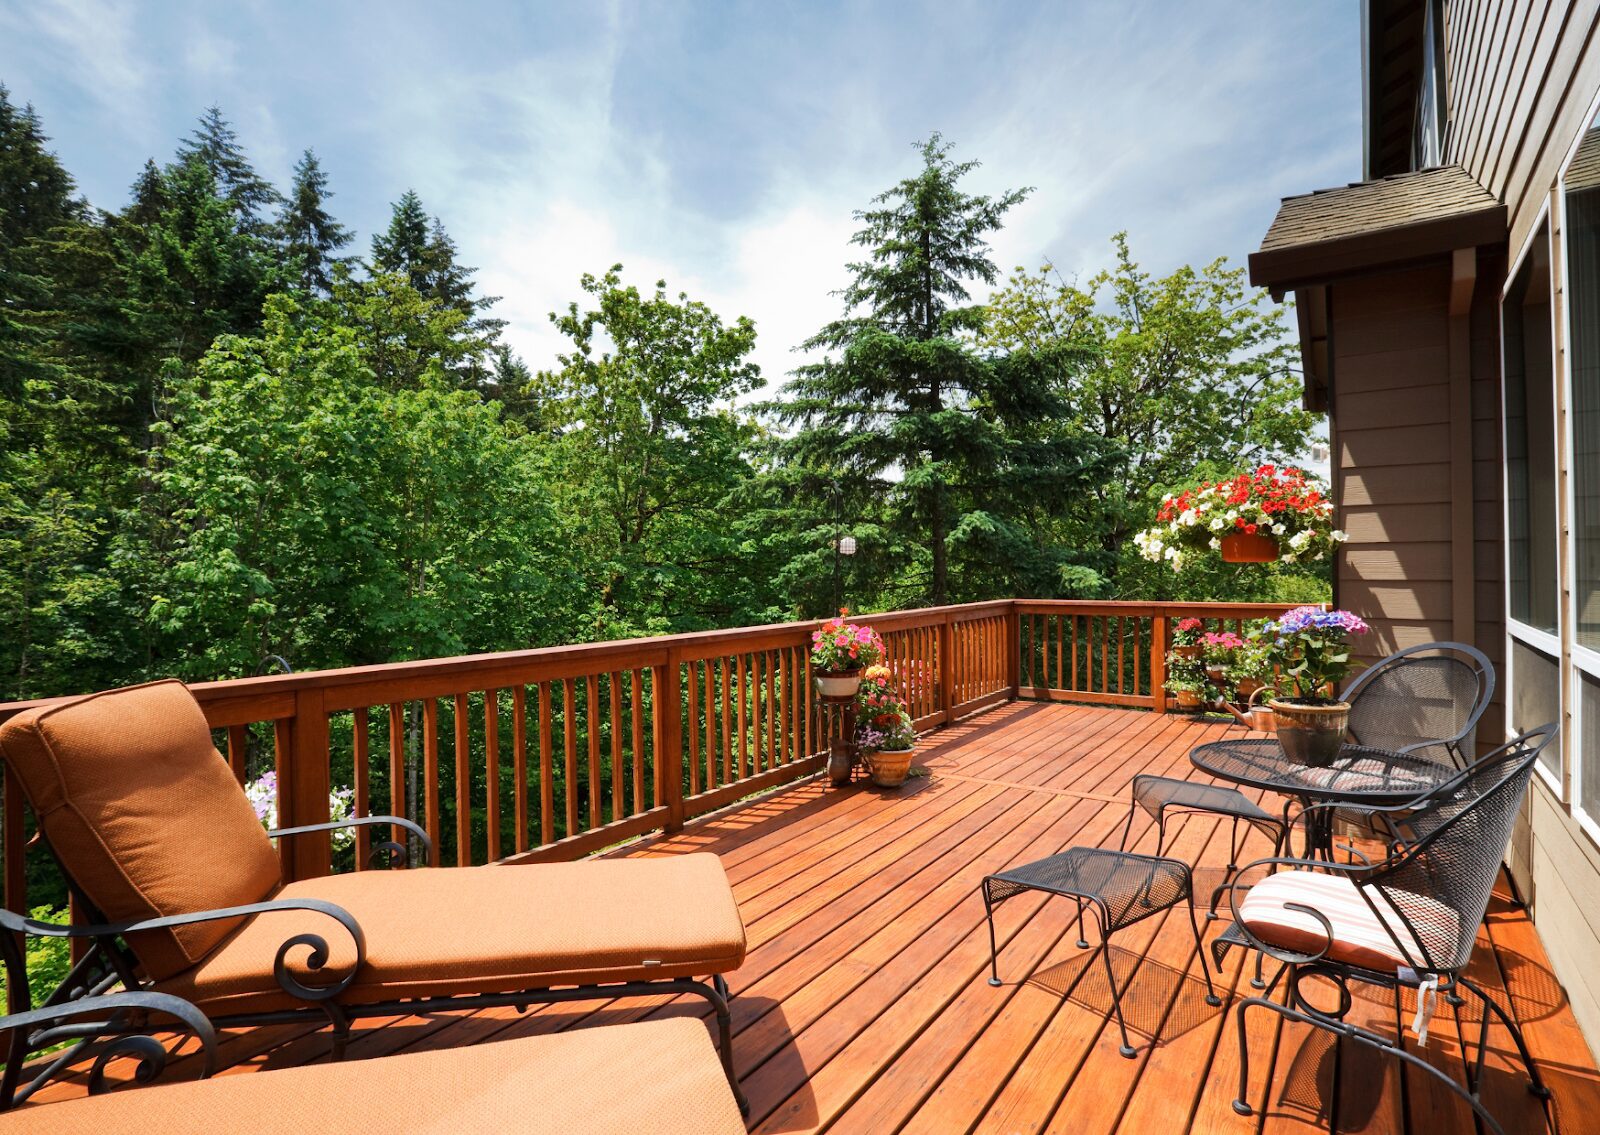
Painting a deck can be a daunting task, but with the right tools, techniques, and guidance, you can transform your old, weathered deck into a beautiful and inviting outdoor space. In this comprehensive guide, we’ll walk you through the entire process, from preparing your deck for painting to applying the final coat and maintaining your newly painted deck. With careful preparation and attention to detail, painting a deck can be a rewarding project that enhances both the look and longevity of your outdoor area. We’ll cover essential steps such as cleaning and sanding your deck to ensure the paint adheres properly. Additionally, we’ll discuss the best types of paint and brushes to use for a durable finish. By the end of this guide, you’ll have all the knowledge you need to achieve a professional-looking deck that you can enjoy for years to come.
Assessing Your Deck’s Condition
Before you start painting, take a good look at your existing deck. Check for peeling paint, loose boards, protruding nails, and any signs of rot or damage. If your deck is in good shape, you can proceed with the painting process. However, if you notice significant damage or rot, you may need to replace a few boards or consider a more extensive restoration project.
Make sure to also inspect the wood grain for any irregularities and the old paint for areas where it may be flaking or bubbling. Pressure wash the surface to remove the dirt and debris, ensuring you have a clean base for applying paint. If there are areas of bare wood exposed, you might need to apply primer before adding the new coat.
For most decks, semi-transparent stains can enhance the natural beauty of the wood, but if you’re dealing with an older deck with an uneven finish, a solid deck paint might be a better choice. Don’t forget to cover nearby surfaces with drop cloths and use painter’s tape to protect edges from splashes. Once everything is prepped and dry, you can use a paintbrush or paint roller to apply the paint smoothly. Make sure to work on a sunny day to allow the paint to dry thoroughly.
Gathering the Necessary Tools and Materials
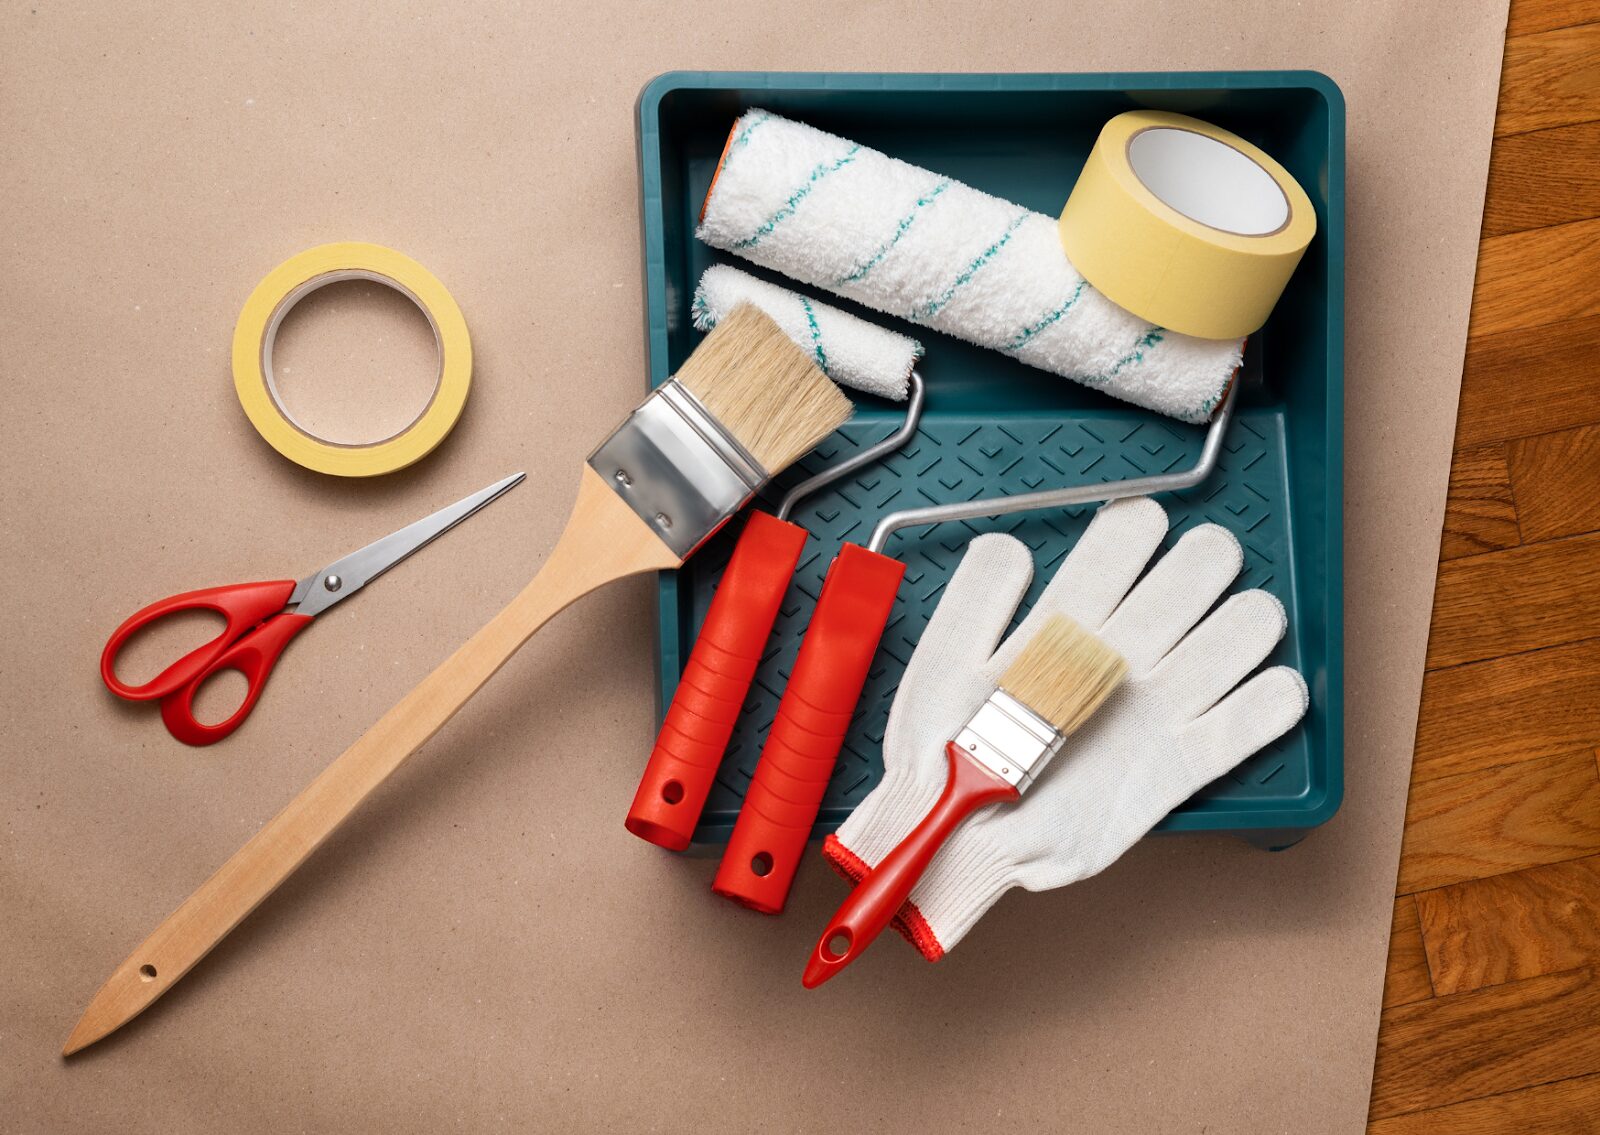
To paint a deck successfully, you’ll need the following tools and materials:
- Pressure washer or garden hose: These tools are essential for cleaning your deck and removing dirt, grime, and loose paint before you begin painting.
- Wire brush: A wire brush helps remove stubborn dirt and debris, especially in hard-to-reach areas or corners, and can smooth rough edges.
- Paint scraper: Use a paint scraper to remove any old paint or existing paint that is peeling from your deck’s surface.
- Sandpaper or power sander: Sanding your deck helps smooth out rough spots and creates a better wood surface for the new paint or stain to adhere to, ensuring a smooth finish.
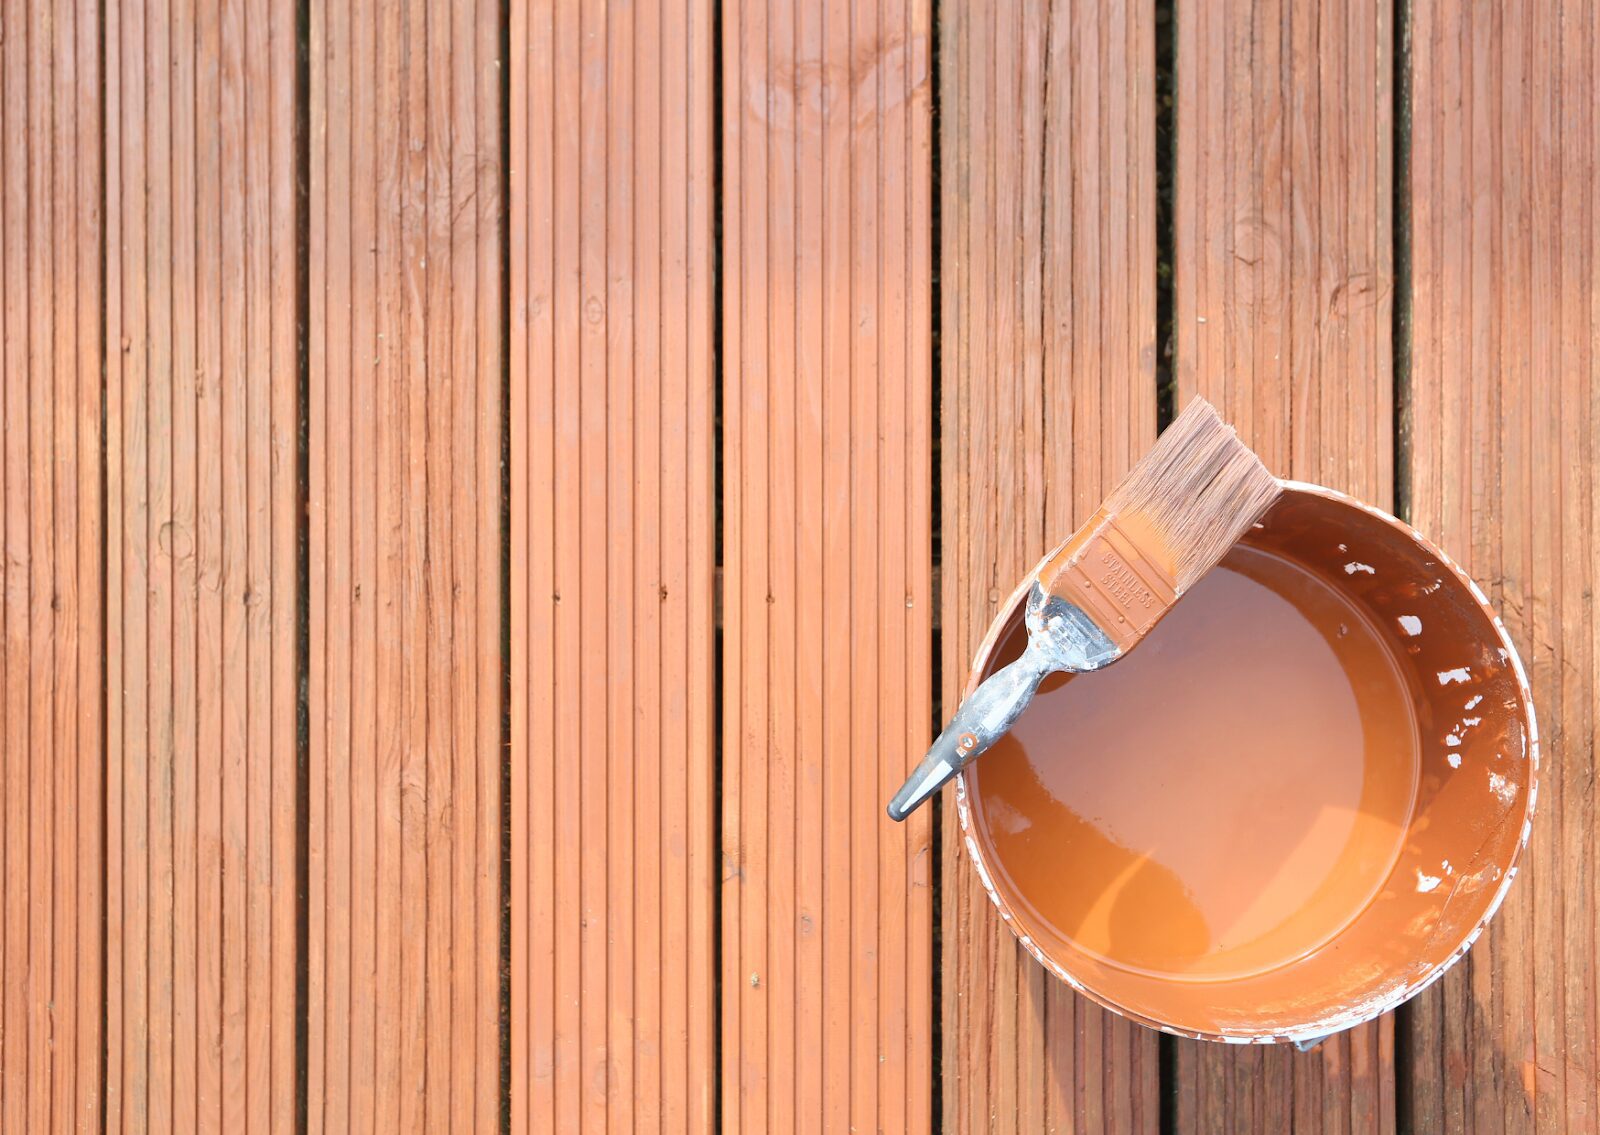
- Paint brushes and paint roller: Use high-quality brushes and rollers designed for exterior painting to apply the paint evenly and efficiently.
- Extension poles: An extension pole allows you to reach high or hard-to-access areas without using a ladder.
- Drop cloths: Place drop cloths around your deck to protect the surrounding area from paint drips and spills.
- Painter’s tape: Use painter’s tape to mask off any areas you don’t want to paint, such as hardware or trim.
- Exterior paint or stain (water-based paint or oil-based): Choose a high-quality exterior paint or stain that is suitable for wood decks and can withstand the elements. Consider your personal preference for color and opacity, such as a semi-transparent stain or a solid color paint.
- Primer (if necessary): A primer can help the new paint adhere better and last longer, particularly if you’re painting a new deck or transitioning from a dark color to a lighter one.
Preparing the Deck Surface
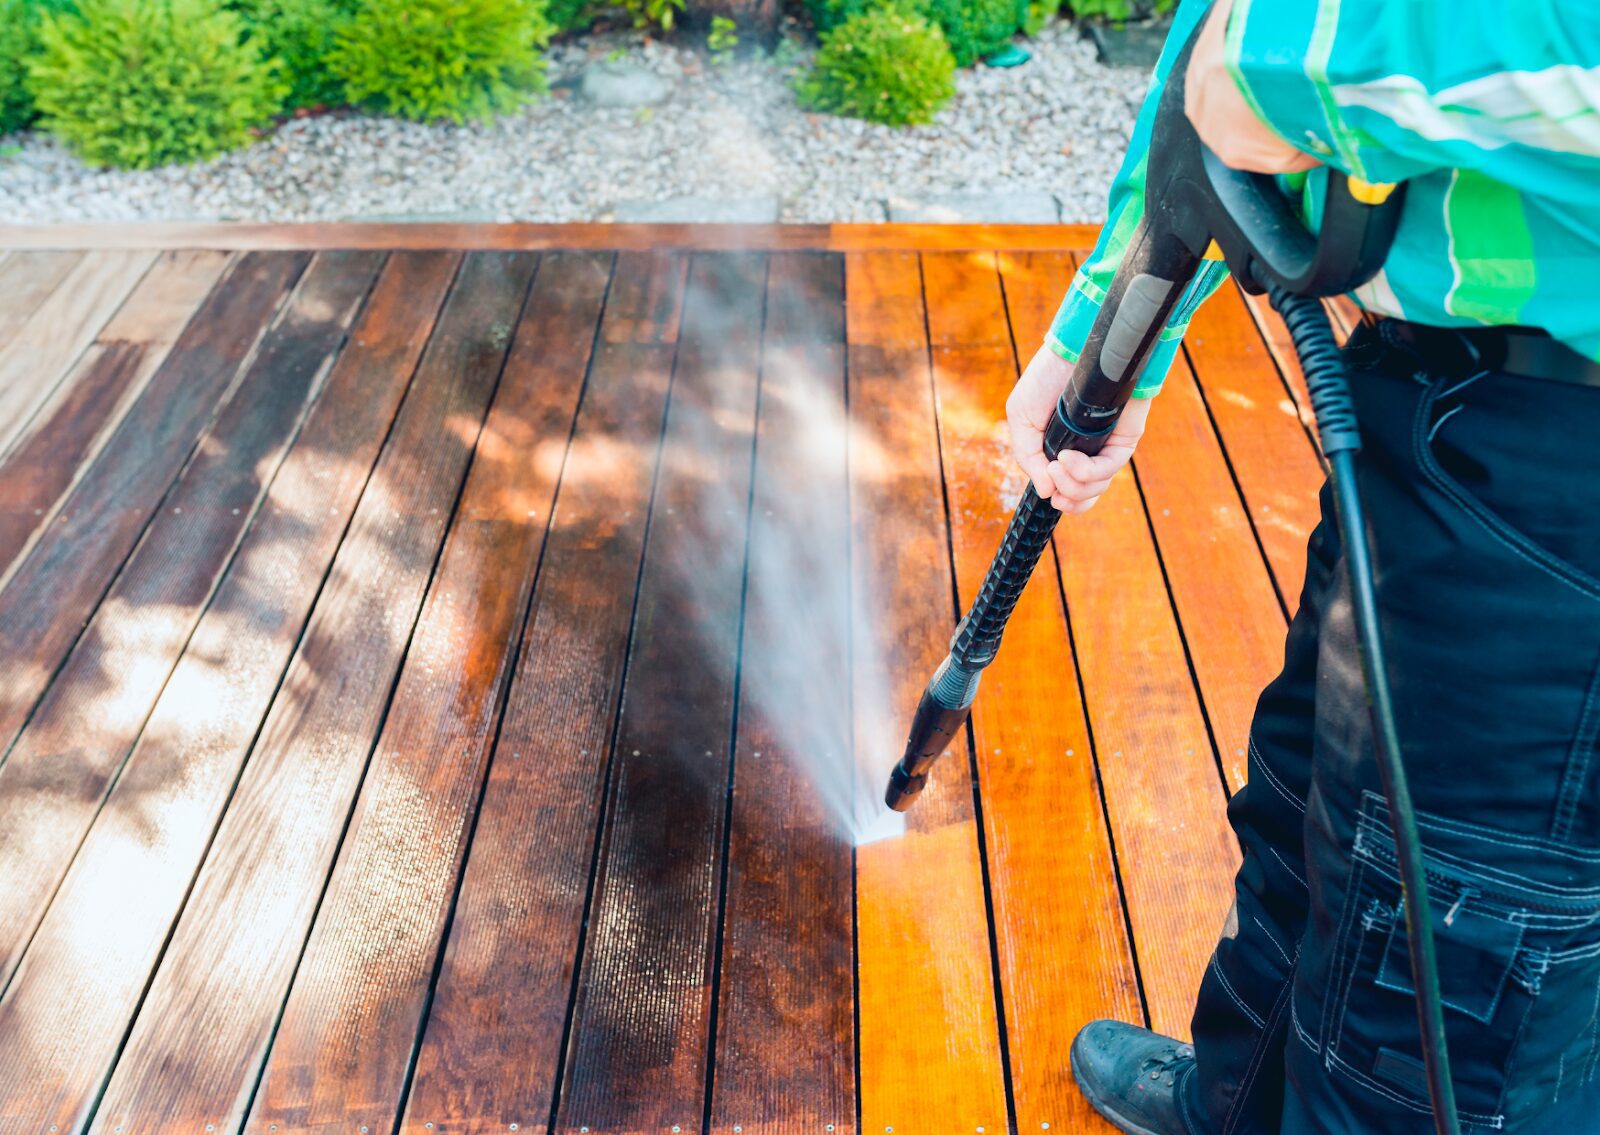
Proper preparation is key to achieving a long-lasting and attractive finish. Start by removing all furniture, potted plants, and other items from your deck. Then, use a pressure washer or a garden hose with a high-pressure nozzle to remove dirt, grime, and loose paint from the wood surfaces. For stubborn areas, use a wire scrub brush to remove any remaining debris.
Once the deck is clean, allow it to dry completely. This may take a day or two, depending on the weather conditions. Avoid painting on a humid or rainy day, as this can affect the paint’s ability to adhere properly. If there is any old deck paint that is peeling, ensure it is thoroughly removed from the deck.
After cleaning, inspect the wood grain for any damage and sand down any rough edges to create a smooth surface. If you are working with a previously painted deck, check how much old paint remains and if the wood underneath is exposed. Before you apply paint, consider whether you need to use a semi-transparent stain or a deck paint. For bare wood or significant repairs, apply primer first.
Cover nearby surfaces with drop cloths and use painter’s tape to protect edges. When you begin painting, use a paint roller for large areas and a paintbrush for corners and detailed sections. Choose a water-based paint for easier cleanup and faster drying times. Knowing how much paint you need is crucial; measure the square foot area of your deck to ensure you have enough. Work methodically to avoid missing spots and ensure an even coat. Allow the paint to dry thoroughly between coats for the best finish.
Repairing and Sanding the Deck
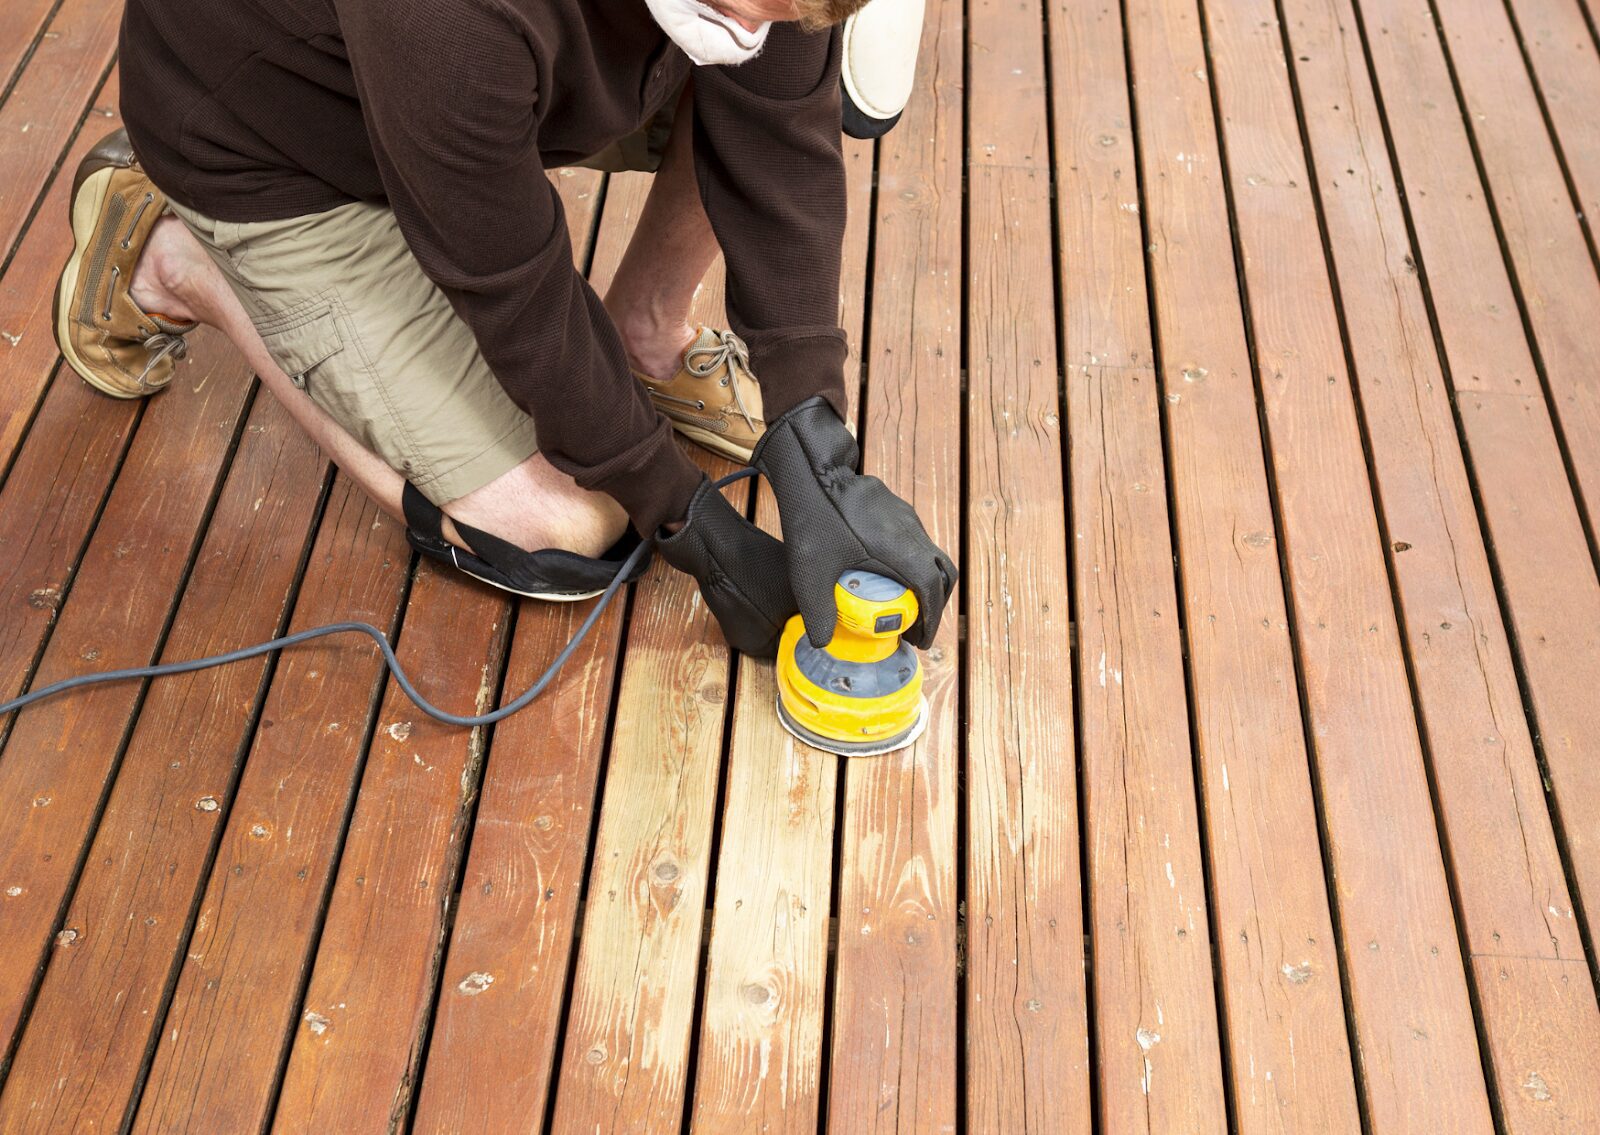
After cleaning, inspect your deck for any rougher spots, splinters, or protruding nails. Use a hammer to drive in any loose nails and a paint scraper to remove any remaining loose paint from the deck. For spots that are rough or splinters, use sandpaper or a power sander to smooth the wood surface. This will help the new paint adhere better and create a more even finish.
If you need to replace any damaged boards, make sure to use the same type of wood and allow the new boards to weather for a few weeks before painting. Properly repaired and sanded surfaces ensure that the new paints will last longer and look better, making the painting deck process more effective and satisfying. Additionally, consider applying a wood sealer before painting to protect the deck from moisture and extend its lifespan.
Applying Primer (Optional)
While not always necessary, applying a primer can in the deck help the new paint adhere better and last longer, especially if you’re painting a new deck or transitioning from a dark color to a lighter one. Choose a primer specifically designed for exterior wood surfaces and follow the manufacturer’s instructions for application.
Before you apply primer, ensure the wood deck is clean, completely dry, and without stain. Use a power washer for thorough cleaning and allow the surface to dry for a day or two. If there is old paint, make sure to sand it down and check the wood grain for any rough spots that need smoothing. This work prep ensures the primer will bond well with the wood.
When ready to apply paint, first calculate how much paint you will need by measuring the square foot area of your deck. Use a paint roller for large surfaces and a brush for edges. Consider using a semi-transparent stain if you want to highlight the natural wood grain. After applying primer, let it dry thoroughly before you begin painting. Apply the first coat of floor paint evenly and let it dry before adding a second coat if needed. Ensure that the paint dries fully between each step to achieve a smooth and durable finish.
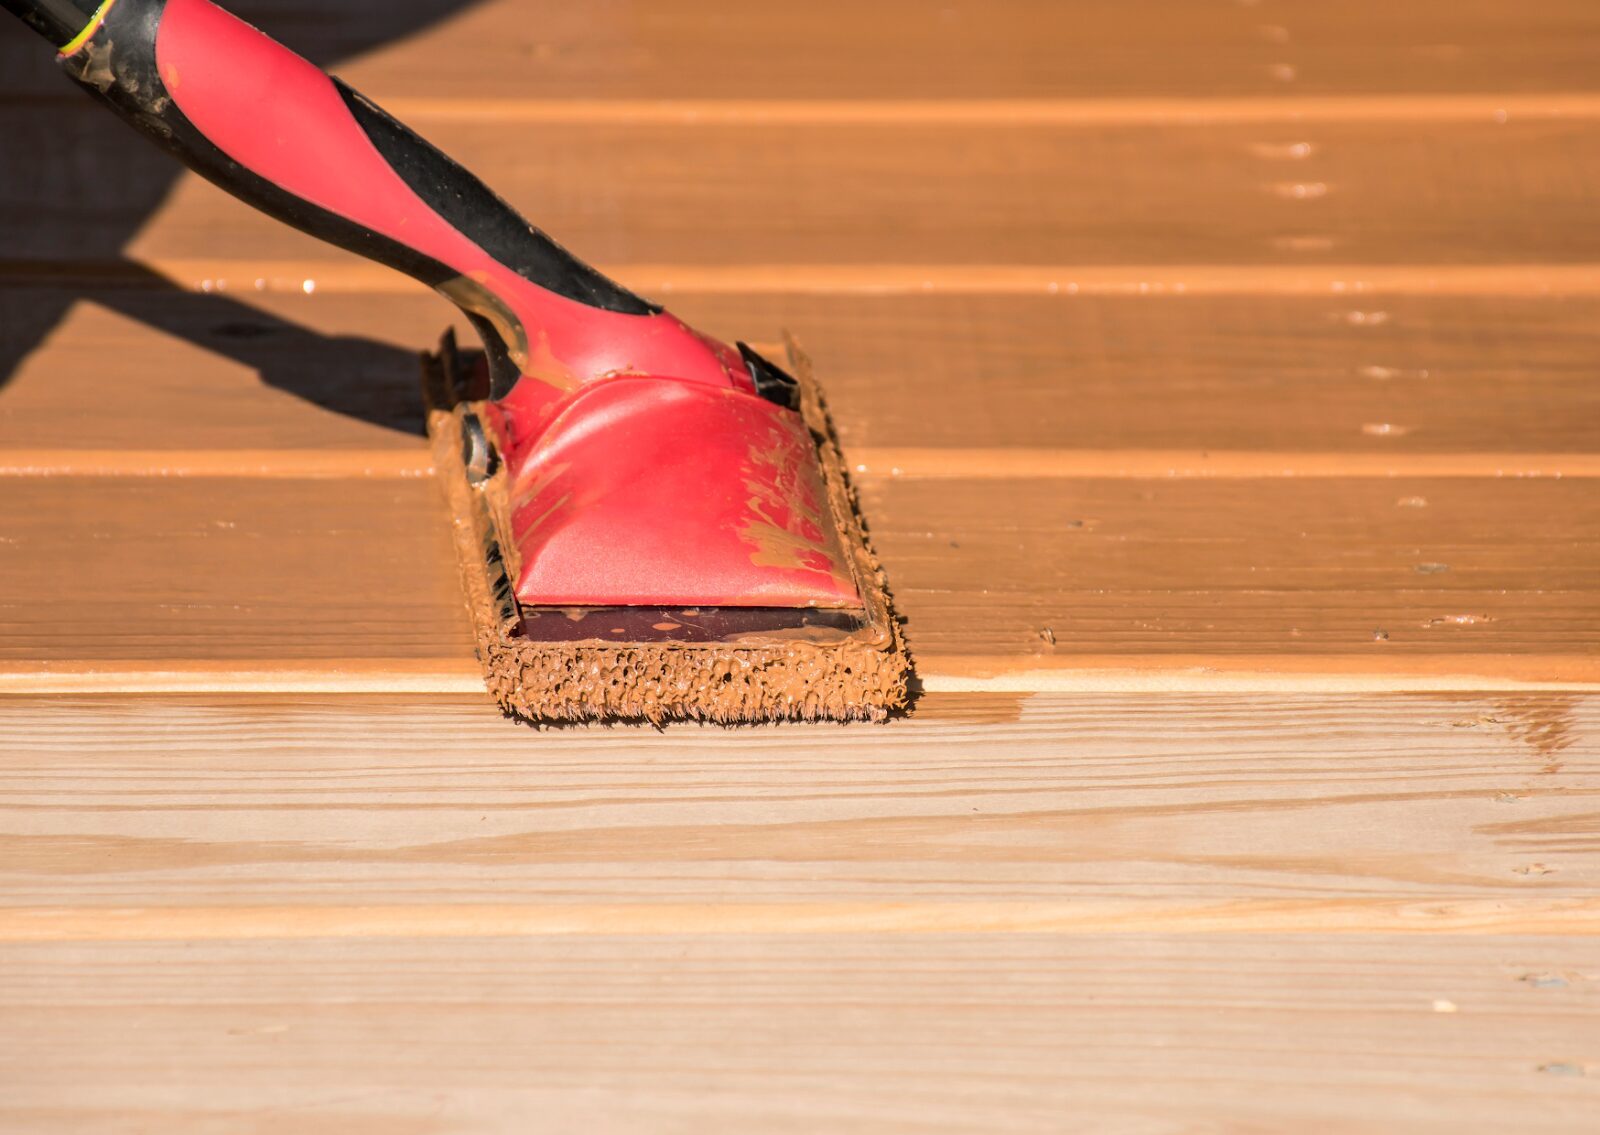
Painting the Deck

Now that your deck is clean, dry, and properly prepared, it’s time to start painting. Begin by selecting a high-quality exterior paint or stain suitable for wood decks. Water-based paints are generally easier to work with and clean up, while oil-based paints may offer better durability.
Using a paintbrush or roller, apply the first coat of paint, starting with the deck railing and working your way down to the deck floor. Use long, even strokes, and be sure to paint in the direction of the wood grain. An extension pole can help you reach high or hard-to-access areas.
Allow the first coat to dry completely, which typically takes 4-6 hours, before applying a second coat in the deck. Two coats of paint will provide better coverage and durability.
Letting the Paint Dry and Cure
After applying the final coat of paint, allow your deck to dry and cure completely before walking on it or placing furniture back. This can take anywhere from 24 to 48 hours, depending on the type of paint used and the weather conditions. Avoid painting your deck when there is high humidity or if rain is expected within the next 24 hours.
To ensure the entire deck is ready for use, calculate how much paint you need beforehand and plan your prep work carefully. Use a power washer to clean the wood and sand any rough areas. Apply primer if necessary, then use a paint roller to cover large areas efficiently. Be sure to document your progress with a deck photo to monitor coverage and ensure an even finish. When you begin painting, work methodically to cover the entire deck and apply an even coat. Once the paint dries, your deck will be ready to enjoy as a refreshed outdoor space.
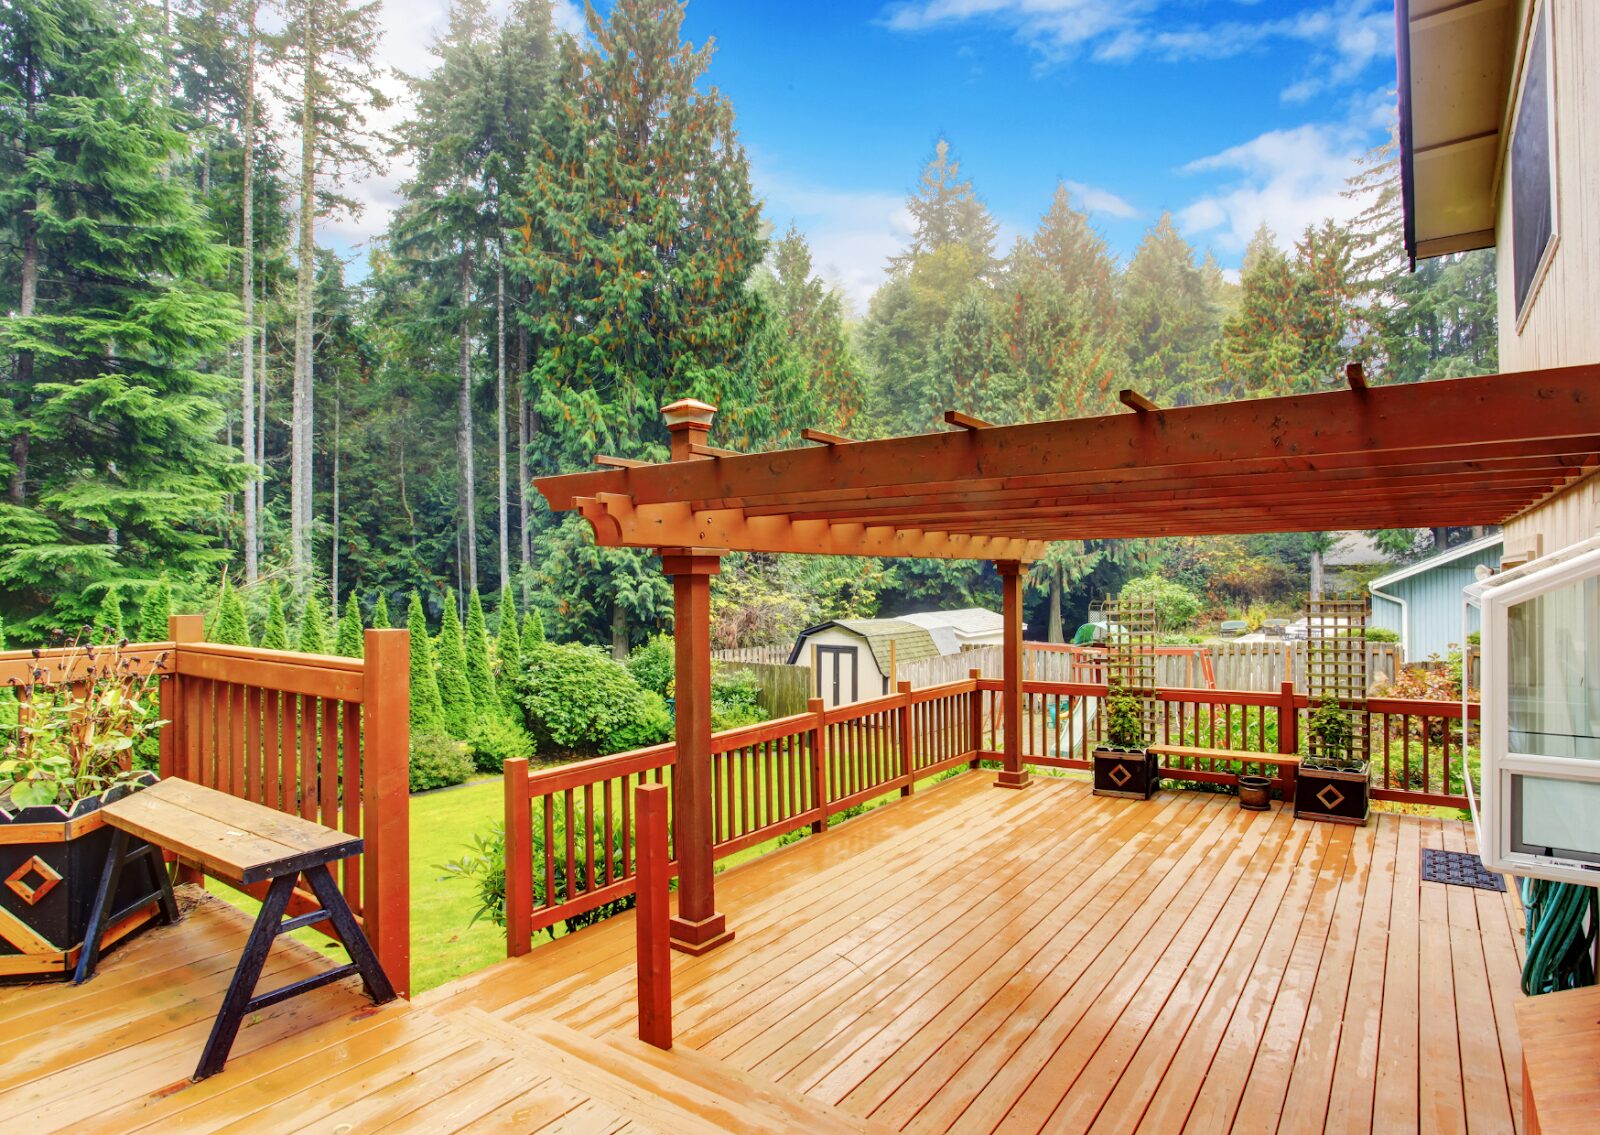
Maintaining Your Freshly Painted Deck
To keep your newly painted deck looking its best, regular maintenance is essential. Sweep your deck regularly to remove dirt and debris, and clean it annually with a mild detergent and a soft-bristled brush. Avoid using a pressure washer, as this can damage the paint and wood surface.
Periodically inspect your deck for any signs of peeling paint, rot, or damage, and address these issues promptly to prevent further deterioration. If you need to paint a deck again in the future, proper maintenance will ensure the paint lasts longer and the deck remains in good condition.
Get Started Today
For professional assistance with your deck painting project, consider contacting M&E Painting. Our experienced team can help you achieve a beautiful, long-lasting finish that will transform your outdoor space. Whether you need to paint a deck from scratch or refresh an existing one, we provide comprehensive services tailored to your needs. With a commitment to quality and customer satisfaction, we use top-of-the-line materials and techniques to ensure your deck looks its best for years to come. Visit our website or call us today to schedule a consultation and learn more about our deck painting services.
Painting a deck may seem like a challenging task, but with the right preparation, tools, and techniques, you can achieve stunning results. By following the steps outlined in this guide, you’ll be well on your way to enjoying a beautifully painted deck that will enhance your home’s exterior and provide a welcoming space for relaxation and entertainment. Taking the time to properly paint a deck ensures that the finish will be long-lasting and durable, allowing you to enjoy your outdoor space for years to come.
Frequently Asked Questions: How To Paint a Deck (From Preparation to Restoration)
1. What are the essential steps to prepare my deck for painting?
Preparation Steps:
- Assess the Deck’s Condition: Check for peeling paint, loose boards, protruding nails, and signs of rot. Repair or replace damaged boards.
- Clean the Deck: Use a pressure washer or garden hose to remove dirt and debris. For stubborn spots, use a wire brush.
- Remove Old Paint: Use a paint scraper and sandpaper or a power sander to remove peeling paint and smooth the wood surface.
- Inspect and Sand: Check the wood grain for damage and sand rough spots. Ensure the surface is smooth for better paint adhesion.
- Protect Surrounding Areas: Cover nearby surfaces with drop cloths and use painter’s tape on edges to prevent paint splashes.
2. What tools and materials do I need to paint my deck?
Required Tools and Materials:
- Cleaning Tools: Pressure washer or garden hose, wire brush, paint scraper.
- Sanding Tools: Sandpaper or power sander.
- Painting Tools: High-quality paint brushes and rollers, extension poles.
- Protection Supplies: Drop cloths, painter’s tape.
- Paint and Primer: Choose high-quality exterior paint or stain (water-based or oil-based) suitable for wood decks, and primer if needed.
3. How should I apply paint to achieve a smooth and durable finish?
Painting Process:
- Apply Primer (if necessary): If using primer, ensure the deck is clean and dry. Apply primer to enhance paint adhesion, especially for bare wood or color transitions.
- First Coat: Use a paintbrush for edges and corners, and a roller for large surfaces. Paint in the direction of the wood grain using long, even strokes.
- Dry and Cure: Allow the first coat to dry completely (4-6 hours) before applying a second coat.
- Second Coat: Apply a second coat for better coverage and durability. Allow the paint to dry thoroughly between coats.
4. How long should I let the paint dry and cure before using the deck?
Drying and Curing Time:
- Drying Time: Each coat typically takes 4-6 hours to dry.
- Curing Time: Allow the final coat to dry and cure for 24 to 48 hours before walking on the deck or placing furniture back.
5. How do I maintain my freshly painted deck to ensure longevity?
Maintenance Tips:
- Regular Cleaning: Sweep the deck regularly to remove dirt and debris. Clean annually with a mild detergent and a soft-bristled brush.
- Avoid Pressure Washing: Use a garden hose instead, as pressure washers can damage the paint and wood surface.
- Inspect and Repair: Periodically check for peeling paint, rot, or damage. Address issues promptly to prevent further deterioration.
Repainting: Proper maintenance extends the lifespan of the paint. Repaint as needed to keep the deck looking its best.