Caulking in Cold Weather: How Cold is Too Cold to Paint & Caulk Outside?

When tackling outdoor projects, especially those involving painting and caulking, it’s crucial to understand the impact of cold weather on these activities. As temperatures drop, the effectiveness and longevity of paint and caulk can be significantly affected. This article delves into the specifics of caulking and painting in cold weather, providing comprehensive guidelines and insights to ensure successful outcomes when you caulk in cold weather.
The Challenges of Caulking in Cold Weather
- Caulking in Cold Weather: Caulking is essential for sealing joints and preventing air leaks, which is especially important during the winter months when heat loss can lead to higher energy bills. However, cold weather poses unique challenges to caulking, particularly when temperatures drop below 35 degrees Fahrenheit.
- Cold Temperatures and Exterior Caulk: Most exterior caulks are designed to be applied at temperatures above 35 degrees. This is because cold temperatures can cause the caulk to become too stiff, making it difficult to apply smoothly. Additionally, cold air can prevent the caulk from curing properly, leading to cracks and gaps that compromise the seal.
Choosing the Right Caulk for Cold Weather

- Silicone Caulk: Silicone caulk is often recommended for cold weather applications because it remains flexible and cures well at lower temperatures. Unlike acrylic or latex caulks, silicone caulk is less likely to crack in freezing temperatures, making it ideal for exterior caulking projects during the winter.
- Rubber or Silicone Base: When selecting a caulk for cold weather, look for products with a rubber or silicone base. These materials are more resistant to temperature fluctuations and provide a durable seal even in extremely cold conditions.
Preparation and Application Tips for Cold Weather Caulking
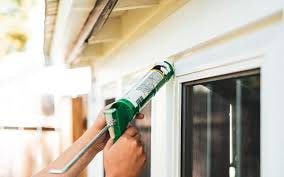
- Preparing Surfaces: Before to apply caulk, it’s important to remove any old caulk and clean the surfaces thoroughly. This ensures that the new caulk adheres properly and provides a strong seal. Using a caulking gun, apply the caulk evenly, filling all gaps and cracks.
- Using a Hair Dryer: If the temperature is near the lower limit of the caulk’s recommended range, you can use a hair dryer to warm the surfaces slightly before applying the caulk. This helps the caulk adhere better and speeds up the curing process.
- Applying Caulk in Cold Temperatures: Start caulking when the temperature is rising and aim to finish at least 2-3 hours before the temperature drops below the minimum recommended level. This allows the caulk to set properly and ensures a durable seal.
Addressing Common Issues
- Cracks and Gaps: Cold weather can cause caulk to shrink, leading to cracks and gaps in the sealant joints. Inspect your work regularly and reapply caulk if necessary to maintain a strong seal.
- Preventing Air Leaks: Properly caulk, windows, doors, and other exterior elements is crucial to preventing heat loss and reducing energy bills during the winter months. Use high-quality caulk and follow best practices to ensure an airtight seal.
Choosing the Right Products
- Backer Rod: For larger gaps, use a backer rod before applying caulk. This provides a stable base for the caulk and ensures a stronger seal.
- Methyl Ethyl Ketone: Some caulks contain methyl ethyl ketone, a solvent that helps the caulk cure in cold temperatures. Check the product label and choose a caulk with this additive for better performance in winter.
Maintenance and Longevity
- Regular Inspections: Regularly inspect your exterior caulking and make necessary repairs to prevent air leaks and heat loss. This is particularly important after extreme cold spells or rainy days.
- Long-Term Durability: Choosing the right caulk and applying it correctly ensures long-term durability and effectiveness. Silicone and rubber-based caulks are generally more durable and flexible, making them ideal for cold-weather applications.
Painting in Cold Weather

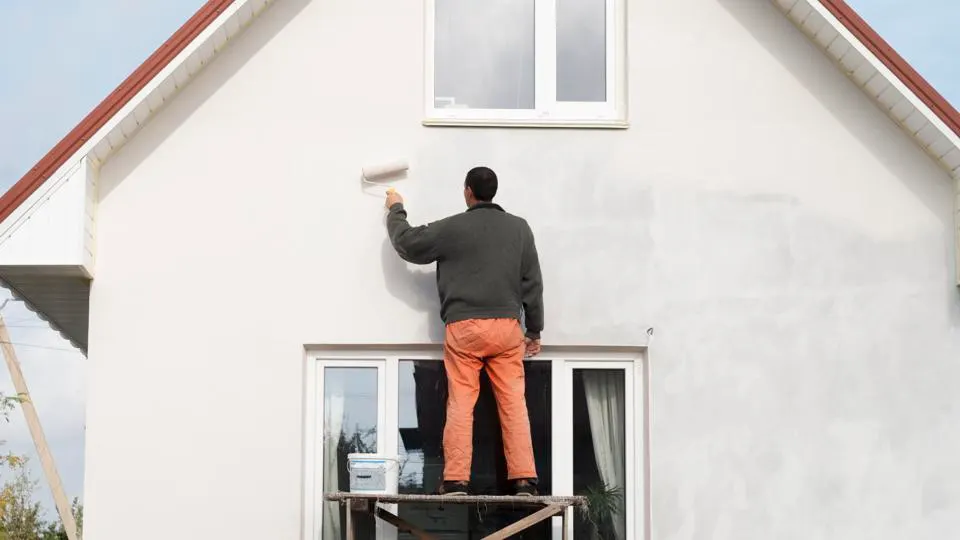
- Cold Weather Painting: Similar to caulking, painting in cold weather requires careful consideration. Most paints have a minimum temperature rating, usually around 35 degrees Fahrenheit. Painting below this temperature can result in poor adhesion and uneven drying.
- Surface Temperature: Ensure that the surface temperature is above 35 degrees for wood and 45 degrees for metal. The paint needs adequate dry time, and the temperature must remain above the minimum level for at least 2-3 hours after application.
- Timing Your Painting: Plan your painting schedule around the weather. Start painting when the temperature is rising and stop 2-3 hours before the temperature drops below 35 degrees. This allows the paint to dry properly and adhere well to the surface.
Dealing with Freezing Temperatures
- Freezing Temperatures and Paint: Freezing temperatures can cause paint to become too thick, making it difficult to apply evenly. It can also lead to poor adhesion and a rough finish. Avoid painting when the temperature is expected to drop below freezing shortly after application.
- Thawing Frozen Paint: If your paint has been stored in a cold environment and has frozen, allow it to thaw completely before using it. Stir the paint thoroughly to ensure it has returned to its normal consistency.
Practical Tips for Winter Projects
- Choosing the Right Time: Schedule your painting and caulking projects for days when the weather is expected to be relatively mild. Avoid extremely cold or rainy days, as these conditions can negatively impact the quality of your work.
- Using a Caulking Gun: A high-quality caulking gun can make a significant difference in the ease and accuracy of your application. Look for a caulking gun with a smooth trigger action and an ergonomic design for better control.
- Heating Solutions: In some cases, you may need to use temporary heating solutions to keep the working area warm enough for caulking and painting. Portable heaters or heat lamps can help maintain the required temperature.
Additional Considerations
- Old Caulk Removal: Removing old caulk is a critical step before applying new caulk. Use a utility knife or a specialized caulk removal tool to scrape away the old material. Clean the area thoroughly to ensure the new caulk adheres properly.
- Sealant Joints: Pay close attention to sealant joints, as these are often the areas most affected by temperature changes. Ensure that all joints are properly filled and sealed to prevent air leaks and moisture penetration.
- Heat Loss Prevention: Proper caulking and painting in cold weather not only improve the appearance of your home but also play a crucial role in preventing heat loss. Well-sealed windows and doors can significantly reduce your heating costs during the winter.
Final Thoughts
Caulking and painting in cold weather require careful planning and execution to achieve the best results. By understanding the challenges posed by low temperatures and selecting the right materials and techniques, you can ensure a durable and effective seal that withstands the rigors of winter. Regular maintenance and timely repairs further enhance the longevity and performance of your caulking and painting projects, helping you maintain a comfortable and energy-efficient home.
Final Tips
- Spring and Winter Projects: While spring is often considered the best time for exterior projects, winter months can also be suitable with the right preparations and materials.
- Using the Right Products: Invest in high-quality caulk and paint designed for cold weather use. These products are formulated to perform well in low temperatures and provide a lasting seal.
- Monitoring Weather Conditions: Keep an eye on the weather forecast and choose days with stable, mild conditions for your projects. Avoid days with extreme cold, high winds, or heavy precipitation.
- Maintaining Flexibility: Silicone and rubber-based caulks are known for their flexibility, which is crucial for handling the expansion and contraction of materials in varying temperatures.
By following these guidelines and taking the necessary precautions, you can successfully complete your caulking and painting projects even in cold weather, ensuring a well-sealed and visually appealing exterior for your home.
Transform your home with professional painting services from M&E Painting. Our expert team specializes in delivering high-quality results, whether you’re looking to refresh your interior or enhance your exterior. Don’t let cold weather hold you back—trust M&E Painting to handle your project with precision and care. Contact us today for a free estimate and let us bring your vision to life.