We’ve all felt frustrated when a seemingly minor imperfection on a wall becomes a glaring eyesore. At M&E Painting, we understand how vital it is for your home in Fort Collins, CO, Windsor, CO, or Timnath, CO, to look its best. That’s why we’re here to guide you through the process of making your drywall patch blend in seamlessly. Not only will this enhance your home’s aesthetic appeal, but it will also maintain or even increase your property’s value.
Understanding Drywall Patches

What Are Drywall Patches?
Drywall patches are essential tools in the home repair arsenal, designed to cover holes or damages in your walls, resulting in a smooth, unblemished surface. Whether it’s from moving furniture, doorknob accidents, or general wear and tear, these patches provide a straightforward solution for wall restoration.
Common Reasons for Drywall Damage
Homes in areas like Fort Collins, CO, often require drywall patching due to a variety of reasons, ranging from accidental impacts to the natural settling of the house. Understanding these common causes can help you prevent future damage and ensure your repair efforts are long-lasting.
Materials and Tools Needed

Essential Supplies for a Flawless Patch
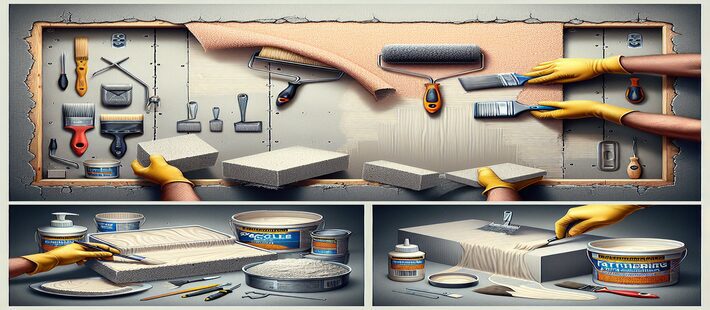
Before we dive into the repair process, gathering the right materials and tools is crucial. For a successful drywall patch that blends in with the rest of your wall in Fort Collins, CO, or Windsor, CO, you’ll need:
| Material/Tool | Description | Purpose |
| Spackle or Joint Compound | Filler for patching holes. | Fill in the hole or damage in the drywall to create a smooth surface. |
| Putty Knife | A flat-bladed tool. | Used to apply and smooth the spackle or joint compound over the patch. |
| Sandpaper | Abrasive paper. | Smoothen the patched area to ensure it’s flush with the surrounding wall. |
| Primer | Pre-paint coating. | Prepare the patched area to ensure the topcoat of paint adheres well and looks uniform. |
| Paint | Wall color match. | Applied over the primer to blend the patched area with the surrounding wall. |
| Paintbrush or Roller | Painting tools. | Used to apply primer and paint over the patched area. |
| Drywall Patch or Mesh | Repair materials. | Provides a base for larger holes, giving the spackle or joint compound something to adhere to. |
Preparation Steps
Setting the Stage for Success
Proper preparation not only makes the repair process smoother but also ensures safety and efficiency. Here’s how to prepare your workspace in Timnath, CO:
- Clean the Area: Remove any dust, debris, or loose drywall around the patch area to ensure the spackle adheres properly.
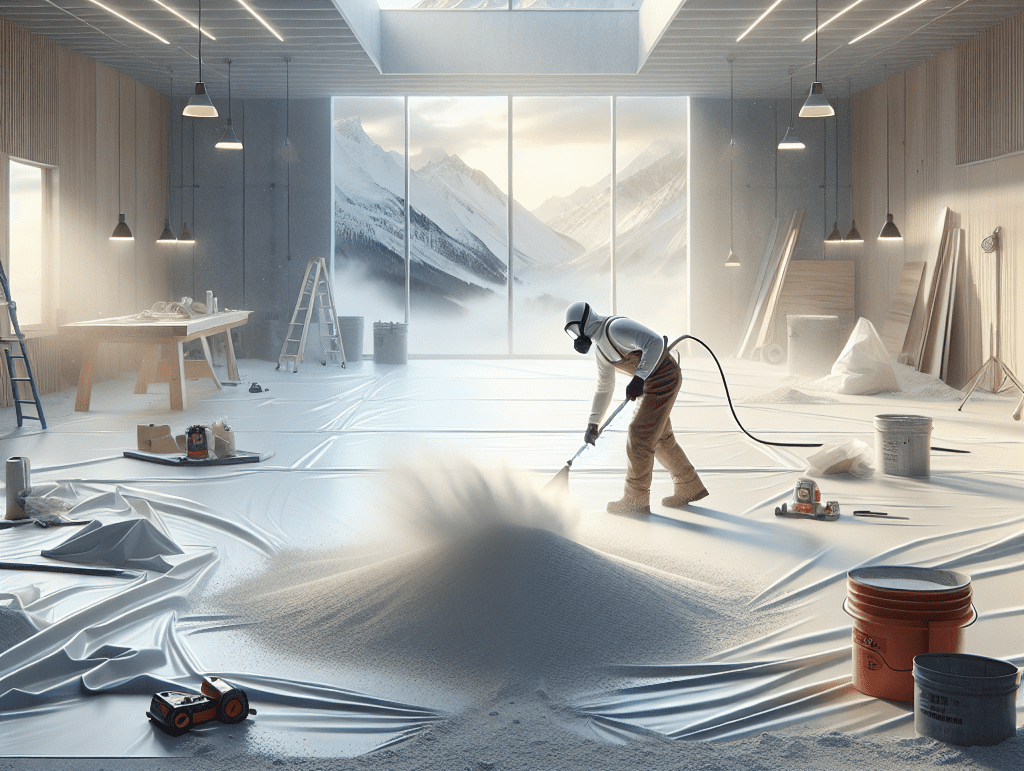
- Protect Your Space: Lay down a drop cloth or plastic sheeting to protect your flooring and furniture from spackle, sanding dust, and paint.
- Safety First: Wear protective gear, such as a dust mask and safety goggles, to prevent irritation from dust and chemicals.
Step-by-Step Guide to Making Drywall Patches Blend In
Achieving a Seamless Finish
With your area prepped and your tools at the ready, it’s time to make that drywall patch disappear:
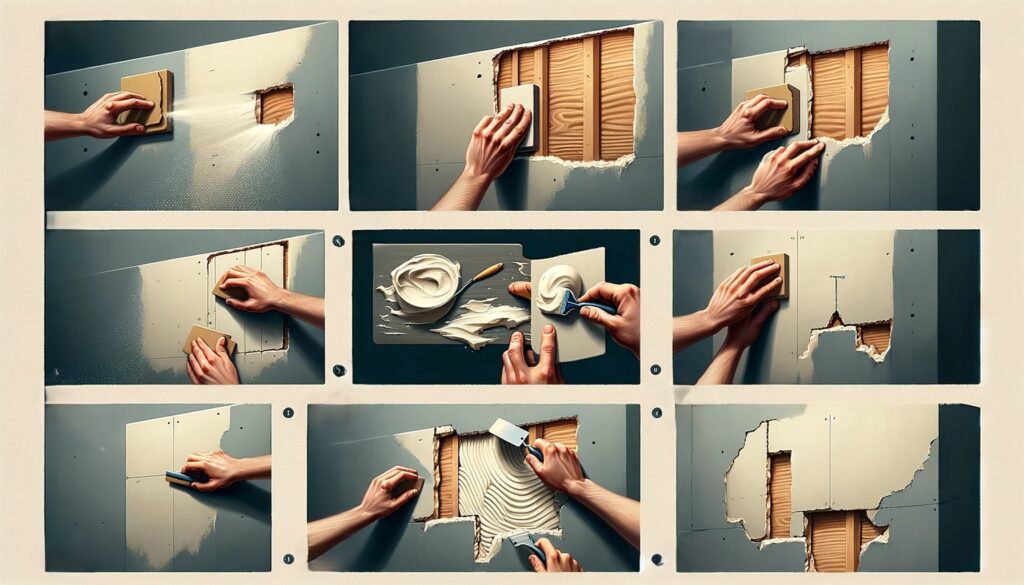
- 1. Applying the Patch: If using a drywall patch or mesh, adhere it over the hole according to the product instructions. Apply a thin layer of spackle over the patch and surrounding area with your putty knife. Allow it to dry completely.
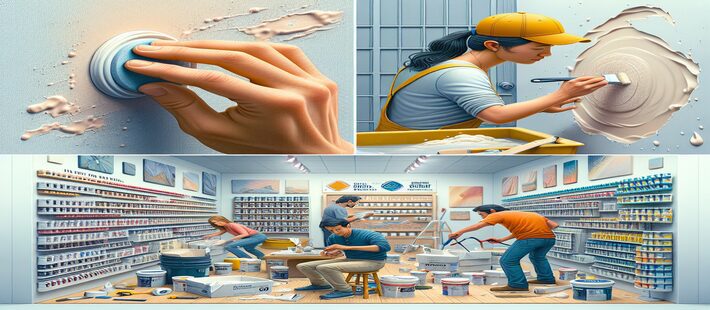
- 2. Sanding for Smoothness: Once dry, sand the area with fine-grit sandpaper until it’s smooth and flush with the surrounding wall.
- 3. Priming the Area: Apply a coat of primer over the patch. This ensures that the paint adheres well and that the patched area doesn’t stand out.
- 4. Matching the Paint or Texture: Paint the area with a color that matches your existing wall. If your wall has a texture, you may need to replicate it using special tools or techniques.
- 5. Final Touches: Allow the paint to dry completely. You might need to apply a second coat for perfect coverage.
Troubleshooting Common Problems
Solving Patching Pitfalls
Even with careful preparation and execution, you might encounter some issues. Here are solutions to common problems:
- – Bubbling Spackle: If air gets trapped under your spackle, it can bubble. To fix, gently sand down the bubble, reapply a thin layer of spackle, and allow it to dry thoroughly.
- – Paint Color Mismatch: Finding the exact paint match can be tricky. Always save a small amount of original paint for touch-ups. If that’s not possible, take a chip off the existing paint to your local store in Fort Collins, CO, for a custom match.
- – Visible Patch Edges: If the edges of your patch are visible after painting, lightly sand the edges to blend and apply another thin layer of spackle, followed by primer and paint.
Professional Tips for a Flawless Finish
Insider Secrets for Perfect Patches
Achieving a finish that looks professional involves a few extra tricks:
- Texture Matching: For walls with texture, use a texture sponge or specialized tools to mimic the original wall texture over the patched area before painting.
- Feathering Technique: When applying spackle, gradually thin it out towards the edges. This makes the patch less noticeable and easier to blend with paint.
- Quality Over Quantity: Invest in high-quality spackle and painting tools. They make a significant difference in achieving a smooth, durable finish.
Ready to tackle that drywall patch with confidence? With these steps, your walls will look as good as new, blending seamlessly with the rest of your home. Remember, while DIY projects can be rewarding, some tasks may require a professional touch. If you’re in Fort Collins, CO, Windsor, CO, or Timnath, CO, and find yourself facing a complex repair, don’t hesitate to reach out to M&E Painting. Our experts are ready to help ensure your home looks its absolute best.
We’ve walked you through every step of making your drywall patch blend in perfectly. From selecting the right materials to applying the final touches, you now have the knowledge to tackle this common home improvement project. At M&E Painting, we’re proud to support our community in Fort Collins, CO, Windsor, CO, and Timnath, CO, with tips and professional services to keep your home looking great. Remember, a well-maintained home is a happy home.
Frequently Asked Questions:
- What materials do I need to patch and blend a drywall hole?
You’ll need a spackle or joint compound, a putty knife, sandpaper, primer, paint matching your wall color, a paintbrush or roller, and for larger holes – a drywall patch or mesh.
- How do I properly prepare the area before patching drywall?
Clean the area of any dust or debris, lay down drop cloths, and wear protective gear like a dust mask and safety goggles.
- What are the key steps to make a drywall patch blend seamlessly?
Apply the patch/spackle, sand until smooth, prime the area, paint to match the existing wall color and texture, and apply a second coat if needed.
- What if the spackle bubbles or the paint color doesn’t match perfectly?
For bubbles, sand them down, reapply spackle, and let dry. For color mismatches, try to save the original paint for touch-ups or get a custom color match.
- What professional tips can help achieve a flawless drywall patch?
Use a texture sponge/tools to match textured walls, feather out spackle edges, and invest in high-quality spackle/painting supplies.